
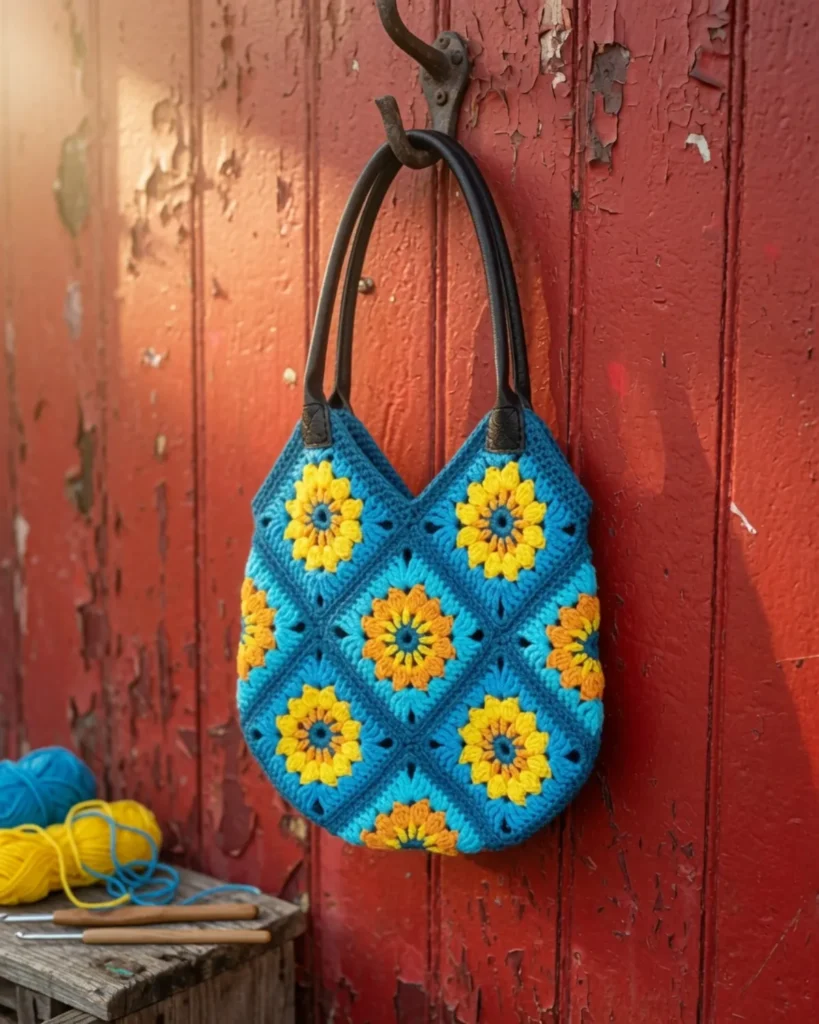
There’s something irresistible about a granny square bag — it’s playful, portable, and gives you a chance to show off a whole handful of colors in one project. If you’ve ever wanted a bag that feels handmade in the best possible way, this is it.
The daisy granny square is one of those motifs that just keeps giving. It’s cheerful, endlessly customizable, and works beautifully whether you’re making a blanket, a set of coasters, or — in this case — a sturdy little bag you’ll actually reach for every day. I’ve used this same daisy motif in a daisy granny square baby blanket and a set of daisy placemats and coasters, and I love it just as much here.
This project is great for confident beginners and up. You’ll need to be comfortable with basic granny square construction, joining motifs, and a simple border — nothing too tricky, just a bit of patience while you make your 13 squares. If you enjoy this kind of motif work, you might also like my sunburst granny square blanket or retro daisy granny square pattern for more color-blocking inspiration.
This pattern uses USA crochet terminology.
Materials Needed
Yarn: Hobbii Yarn – Rainbow Cotton 8/8 – 100% Cotton, 50g/75m; 1.75oz/82yds
- Yarn A: 2 balls of Teal (91)
- Yarn B: 1 ball of Orange (57)
- Yarn C: 1 ball of Yellow (90)
Hobbii Yarn – Friends Cotton 8/8 – 100% Cotton, 50g/75m; 1.75oz/82yds
- Yarn D: 1 ball of Light Turquoise (90)
- Yarn E: 1 ball of Dark Turquoise (91)
Tools & Notions:
- 4mm crochet hook
- Yarn needle
- Strong sewing thread
- Lining fabric (optional)
- Leather bag handles, approx. 20–24in
Any DK weight/light worsted weight cotton yarn will give you a similar effect, so feel free to substitute.
Measurements
- Height of bag (not including handles): 12.5in [32cm]
- Width of bag: 12in [30.5cm]
- Each square: 4.5in [11.5cm]
Abbreviations Used
- ch — chain
- sl st — slip stitch
- sc — single crochet
- hdc — half double crochet
- dc — double crochet
- tr — treble crochet
- st — stitch
- sp — space
- beg — beginning
- rep — repeat
- RS — right side
- WS — wrong side
Special Stitches
Beg 3dc-cl (beginning 3 double crochet cluster): Ch 3, yarn over, insert hook in next st or sp, yarn over and pull up a loop (3 loops on hook), yarn over and pull through 2 loops (2 loops on hook), [yarn over, insert hook in same st or sp, yarn over, pull up a loop, yarn over, pull through 2 loops] 2 more times, yarn over and draw yarn through all 4 loops on hook.
4dc-cl (4 double crochet cluster): Yarn over, insert hook in next st or sp, yarn over and pull up a loop (3 loops on hook), yarn over and pull through 2 loops (2 loops on hook), [yarn over, insert hook in same st or sp, yarn over, pull up a loop, yarn over, pull through 2 loops] 3 more times, yarn over and draw yarn through all 5 loops on hook.
Sc3tog (single crochet 3 together): Insert hook into next st and pull up a loop (2 loops on hook), insert hook in next st and pull up a loop (3 loops on hook), insert hook in next st and pull up a loop (4 loops on hook), yarn over and pull through all loops.
Pattern Notes
- Ch 3 at the beginning of a round counts as 1 dc.
- Ch 4 at the beginning of a round counts as (1 dc, ch 1).
- Ch 1 at the beginning of a round does not count as a stitch.
- You will need a total of 13 squares.
- Each square is worked in rounds and joined together. I whipstitched my squares together, but you can use a join of your choice — if you want extra guidance, check out my tutorial on creating a seamless join for granny squares.
- A border is worked around the top edges of the bag.
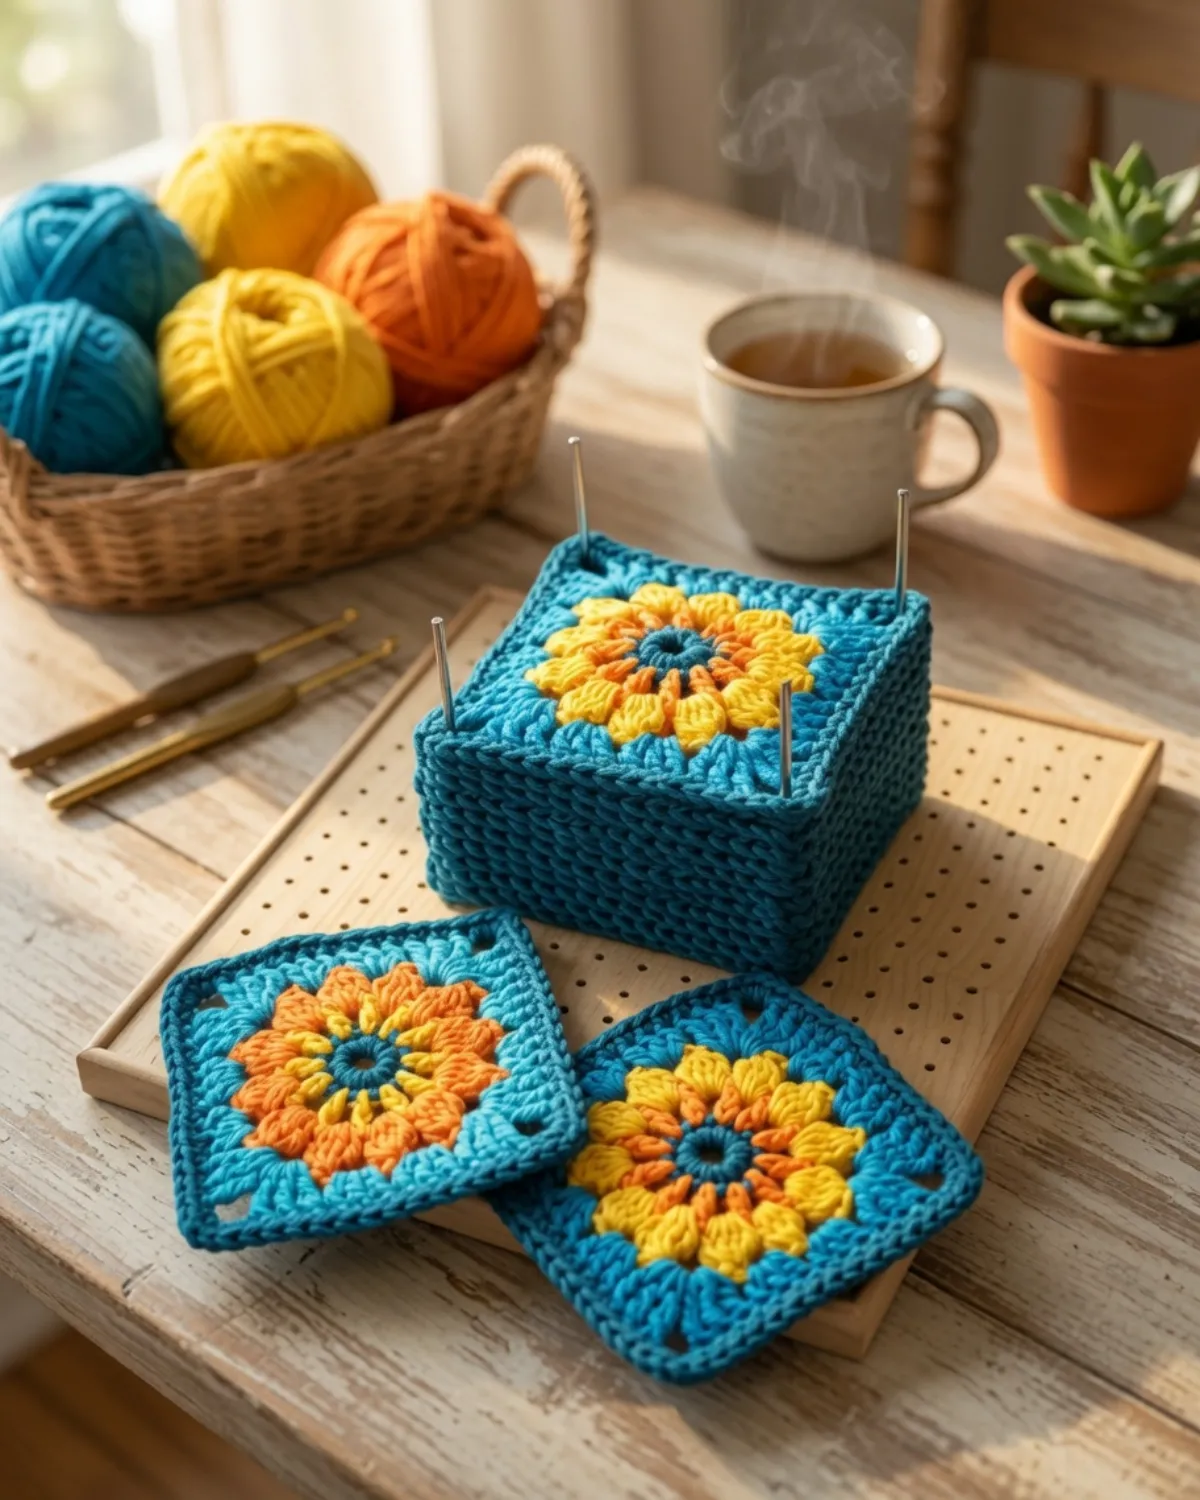
- Blocking your squares before joining helps them become more relaxed and even.
Color Notes
- You can use the colors suggested in the materials list, or dig into your stash for a totally custom look.
- If using stash yarn, you’ll need approximately 450m of DK weight/light worsted weight yarn.
- Using stash yarn is a great way to give your bag a unique, personal touch — no two daisy bags have to look alike!
Daisy Square Colors
- Square 1: (make 8) Rounds 1–5 [Yarn A, Yarn B, Yarn C, Yarn E, Yarn A]
- Square 2: (make 5) Rounds 1–5 [Yarn A, Yarn C, Yarn B, Yarn D, Yarn A]
Pattern Instructions
Daisy Granny Square (make 13)

Ch 5, sl st into first ch to form a ring.
Round 1: Ch 1, 12 sc into ring, join with a sl st into first sc. Fasten off yarn. (12 sc)
Round 2: Join yarn in any st from Round 1, ch 4 (counts as 1 dc, ch 1), [1 dc into next st, ch 1] 11 times, join with a sl st into 3rd ch of beg ch 4, fasten off yarn. (12 dc, 12 x ch-1)
Round 3: Join yarn in any ch-1 sp from Round 2, beg 3dc-cl into same space, ch 3, [4dc-cl into next ch-1 sp, ch 3] 11 times, join with a sl st to top of beg cluster. Fasten off yarn. (12 clusters, 12 x ch-3 sp)
Round 4: Join yarn in any ch-3 sp from Round 3, ch 3 (counts as 1 dc), 2 dc in same sp, (3 tr, ch 3, 3 tr) in next ch-3 sp, [3 dc in next ch-3 sp] 2 times, (3 tr, ch 3, 3 tr) in next ch-3 sp] 3 times, 3 dc in next ch-3 sp, join with a sl st to top of beg ch 3. Fasten off yarn. (24 dc, 24 tr, 4 x ch-3 sp)
Round 5: Join yarn in any st from Round 4, ch 1, work 1 sc into each st around, working (2 sc, ch 1, 2 sc) into each corner ch-3 sp, join with a sl st to top of beg ch 1. Fasten off yarn. (64 sc, 4 x ch-1 sp)
Weave in all threads. Blocking your squares is recommended to make joining easier.
If you’d like a few more tricks for crisp, professional-looking squares before you start assembling, my post on 3 secrets to clean granny square edges is worth a look.
Assembly
- Lay out your squares as shown in the picture below.
- Using Yarn A, and holding the RS of both squares together, join by whipstitching through the back loop of the corresponding stitch on each square.
- Attach squares in rows, then sew each row together.
- Take the bottom squares and fold the bag in half along the dotted lines, with WS facing out.
- Fold in the 2 side squares and pin in place. Stitch markers are also helpful if needed.
- Sew the remaining seams, checking regularly that you are lining up the correct squares — it’s easy to make a mistake!
- When complete, turn the bag right side out.
Top Edging of Bag
Round 1: With RS facing, join Yarn A in any st. Work sc evenly around the top of the bag, working sc3tog where 3 squares meet and (1 sc, ch 1, 1 sc) in the top of each “peak” of the bag (where you will attach the handles), join with a sl st to beg sc.
Round 2: Repeat Round 1. Fasten off yarn and weave in all threads.
Attaching the Handles
Position the bag handles on the outside of the bag, using the pictures for guidance. Using strong sewing thread and a sharp needle, stitch through the pre-punched holes, making sure the handles are secure.
Tips
- Block every square before you start joining — it makes a huge difference in how evenly your rows line up.
- Keep your join method consistent across all 13 squares so your seams look uniform from square to square.
- Use stitch markers generously during assembly, especially when folding and pinning the side squares — it’s easy to attach the wrong square in the wrong spot.
- If you love mixing colorwork into motifs like this, you may also enjoy my blossom granny square pattern for another floral-inspired option.
FAQ
Can I use a different yarn weight? Yes — any DK weight/light worsted weight cotton yarn will work well for this bag; just be aware your finished measurements may vary slightly.
Do I need to line the bag? Lining fabric is optional, but it does add extra structure and helps prevent items from poking through the stitches.
Can I change the number of squares to make a bigger bag? This pattern is designed around 13 squares for the finished measurements given, but you can experiment with additional squares if you want a larger bag — just keep your color placement balanced.
Conclusion
Congratulations on finishing your Daisy Granny Square Bag! This cheerful, motif-based design turns simple granny squares into a one-of-a-kind accessory you’ll love carrying all season. Share your finished bag in the comments below!
