
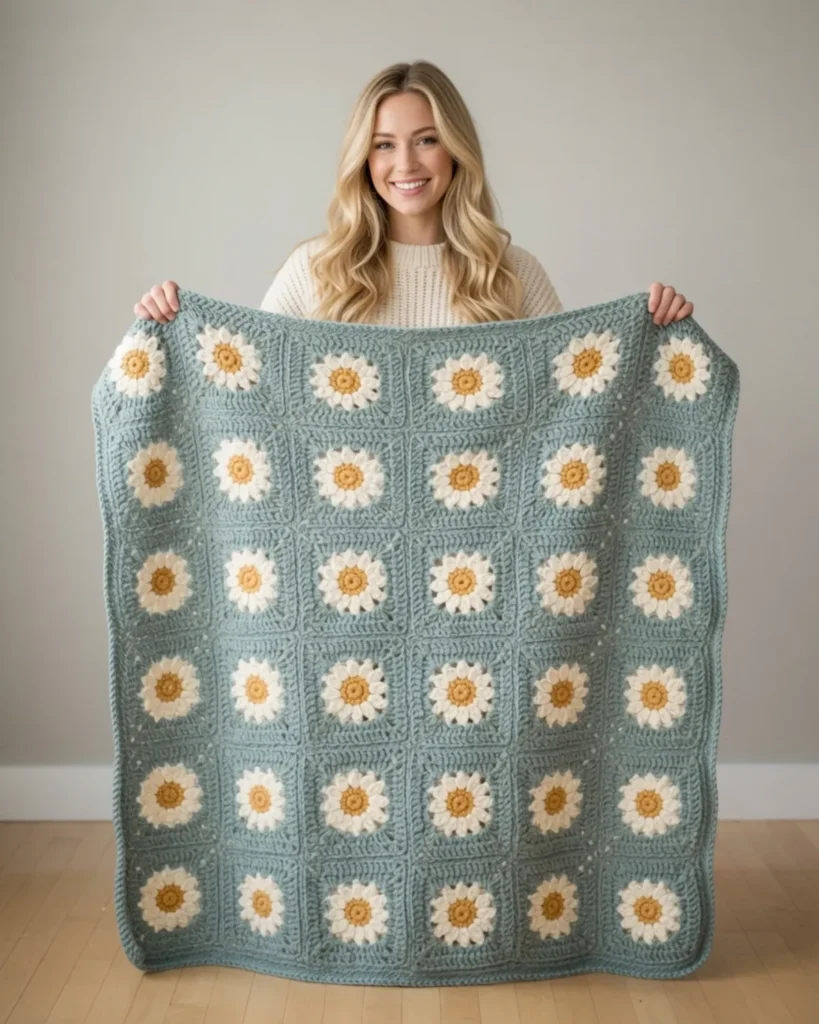
There is nothing quite like wrapping yourself up in a chunky, handmade blanket on a chilly day. If you want to add a bright, cheerful touch to your living space, this stunning daisy blanket is the perfect project. It works up quickly using bulky yarn, making it an incredibly satisfying make for those who love to see fast progress.
This pattern is ideal for intermediate crocheters or ambitious advanced beginners who are ready to tackle granny squares and simple color changes. The classic daisy motif combined with modern chunky yarn results in a cozy blanket that looks like a beautiful heirloom quilt.
This pattern uses USA crochet terminology.
Materials Needed
- 8 mm crochet hook (for the granny squares) and 10 mm (for the slip stitch border)
- Bulky level 5 yarn
- Color A (Background): 820 g/900 yds (e.g., Agave) – 7 skeins
- Color B (Petals): 284 g/311 yds (e.g., Salt) – 3 skeins
- Color C (Center): 42 g/46 yds (e.g., Mustard) – 1 skein
- Lock ring stitch markers
- Bent tip tapestry needle
- Steamer for blocking (optional)
Abbreviations Used
- MR = Magic Ring
- sc = single crochet
- slp st / sl st = slip stitch
- dc = double crochet
- hdc = half double crochet
- ch = chain
- st(s) = stitch(es)
- YO = yarn over
Special Stitches:
Magic Ring (MR): Make a loop. Hold yarn where ends cross. Insert hook into loop and pull up working yarn. Yarn over and work beginning chains. Work subsequent stitches in magic ring and then pull tight to close.
Beginning cluster: Ch 2, [YO, insert hook in st, YO, pull up a loop, YO, draw through 2 loops], rep 2 times in same st, YO, draw through 3 loops on hook.
Cluster: [YO, insert hook in st, YO, draw up a loop, YO, draw through 2 loops on hook], rep 3 times in same st, YO, draw through 4 loops on hook.
Extended single crochet: Insert hook through next stitch. Pull up a loop and extend the loop to desired height (elongate it to match the height of the rest of the stitches). YO, pull through both loops on hook.
Pattern Instructions
Daisy Granny Square
With Color C,
Round 1: 12 sc in Magic Ring. Sl st to first sc. (12 sts)
R2: Chain 1, sc in same st. Sc around. Sl st to first sc. Fasten off. (12 sts)
With Color B,
R3: Join with sl st in any sc. Work beginning cluster, chain 3. Work cluster in next sc, chain 3 around. Slip stitch to top of beg cluster. Fasten off. (12 clusters and 12 ch-3 spaces)
With Color A,
R4: Join with slip st in any ch-3 space. Chain 3 (counts as 1 dc), 2 dc, chain 2, 3 dc in same space. Work 3 hdc in each of next 2 ch-3 spaces. [Work 3 dc, chain 2, 3 dc in next ch-3 space. Work 3 hdc in each of next 2 ch-3 spaces.] Repeat everything between square brackets [ ] 2 more times. Slip stitch to top of chain 3. (48 sts and 4 ch-2 spaces).
R5: Chain 3 (counts as 1 dc). Work 1 dc in next st. Skip next st, 2 dc, chain 2, 2 dc in chain-2 space. [Skip next st, dc across until reach st before Ch 2 space (10 dc). Skip next st, 2 dc, chain 2, 2 dc in ch-2 space.]. Repeat everything between square brackets [ ] 2 more times. Skip next st, dc 8. Slip st to top of chain 3. Fasten off. (56 sts and 4 ch-2 spaces).
Crochet 42 granny squares in total.

Assembly
Seaming
Arrange the 42 granny squares together in a rectangle (6 squares by 7 squares). If you would like to slip stitch the granny squares together, you have two options:
(1) With the wrong side facing you, slip stitch the front loops of the granny squares together. This results in visible edges on the wrong side of the blanket. (2) With the right side facing you, slip stitch the back loops of the granny squares together. This results in visible edges on the right side of the blanket.
For a flawless, flat seam with no raised edges, whip stitch the granny squares together. Cut 75-80” strands of yarn and whip stitch all the granny squares vertically together first, and then horizontally. When whip stitching, have the wrong sides of the granny squares facing you so that there will be a cleaner seam on the right side. Whip stitch the front loops together on the wrong side, leaving the back loops untouched and visible on the right side (this provides a nice frame for each granny square). Once finished whip stitching, tie each strand of yarn into a knot. You will crochet over these ends while working the border and weave them in the opposite direction at the very end.
Border
The border is worked in joined rounds with the right side of the blanket facing you.
Using 8 mm hook,
Round 1: Choose any corner that has the chain 2 space. Join yarn in back loop of left chain of chain 2 space as indicated by stitch marker in picture below. To do so, make a slip knot, insert the crochet hook into the indicated chain, add the slip knot and pull through. Chain 1, work single crochet in same stitch (chain 1 does not count as a stitch). Continue working single crochets in back loops only, leaving front loops untouched.
Work extended single crochets in areas between the granny squares to make the height of the stitches the same as the rest of the stitches (to help fill in the “dips” between the granny squares).
When approaching the chain-2 gaps in the corners, work this: Sc in back loop of first chain. Chain 2, sc in back loop of second chain. (this gives sharper corners).
Continue working this pattern until last corner. Single crochet in back loop of remaining chain, chain 2 and slip stitch to first sc of round.
Switch to 10 mm and working very loosely,
Round 2: Chain 1, slip stitch in same stitch. Slip stitch in back loops across. When approaching ch 2 gap, chain 2 and skip 2 chains. Continue slip stitching in back loops of stitches across, working same pattern in each corner. When approaching last ch 2 space, chain 2 and skip 2 chains. Sl st to first st to close round.
Round 3: Repeat Round 2.
Round 4: Repeat Round 2, except chain 3 across the chain gap (still skip 2 chains).
Round 5: Repeat Round 4, except chain 3 across the chain gaps and skip 3 chains.
Fasten off and weave in ends. You can block your final blanket too!
Single Crochet Border alternative: You can continue working single crochet rounds after Round 1 with an 8 mm hook. Continue working the corners as described in Round 1 and work as many rounds as you would like.
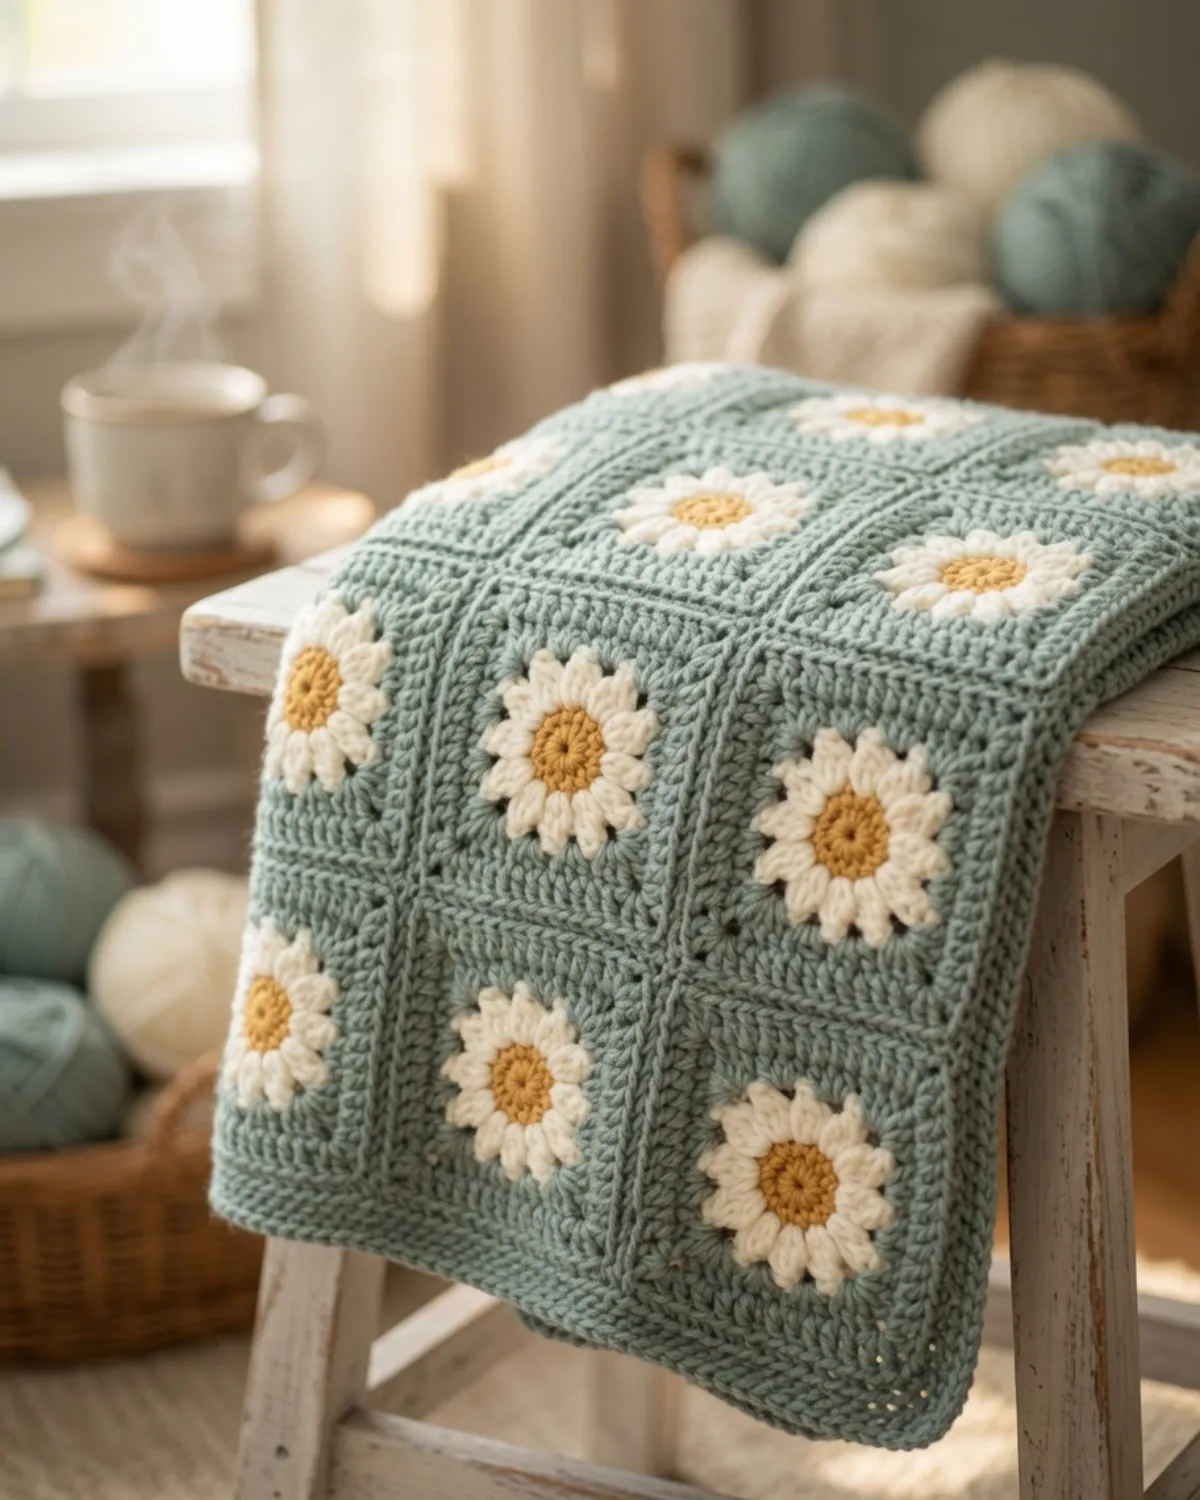
Tips
- Dimensions & Gauge: Your finished blanket will measure approximately 45” wide by 52” high. Each granny square should measure 7” x 7” to hit this gauge.
- Yardage per Square: If you need to adjust the size of your blanket, each individual granny square uses about 17.5 yds of Color A, 7.4 yds of Color B, and 1.1 yds of Color C.
- Working Loose: When executing the slip stitch border rounds, crochet very loosely! If your slip stitches are too tight, the edges of the blanket will bunch up and lose their beautiful drape.
- Color Play: This design is stunning because of the color combinations. Try pairing blush pinks with sage greens, or stick to the classic neutral background with bright yellow centers. The sky is the limit!
If you love this floral motif, you will definitely want to check out this Daisy Granny Square Free Crochet Pattern for more inspiration. For even more ways to brighten your space, take a look at these Cozy Crochet Home Decor Patterns.
FAQ
Can I use a different weight of yarn? Yes, but it will change your blanket’s size and the required hook size. This pattern is specifically designed for bulky (level 5) yarn to give the daisies a plush, oversized look and help the blanket work up quickly.
Do I have to do the slip stitch border? Not at all! The slip stitch border gives a very dense, textured, and modern edge. However, if you prefer a simpler look, there is an alternative provided in the pattern to just keep working single crochet rounds around the edge using your 8 mm hook.
How do I hide all the yarn tails from the color changes? The best method is to crochet over your yarn tails as you switch colors, and then weave them in the opposite direction at the very end to prevent them from working loose. Since you will be adding a border, you can easily crochet right over the seaming tails from joining your squares!
If you want to practice your granny square joining on a smaller scale first, this Free Crochet Granny Square Scarf Pattern for Beginners is a great place to start. Or, if you are looking for a different blanket style, try this Easy Textured Crochet Baby Blanket.
Conclusion
Congratulations on completing your gorgeous chunky daisy blanket! This cozy, quilted masterpiece is sure to be the focal point of any room and a favorite snuggle blanket for years to come. Share your beautiful color combinations in the comments below!
