
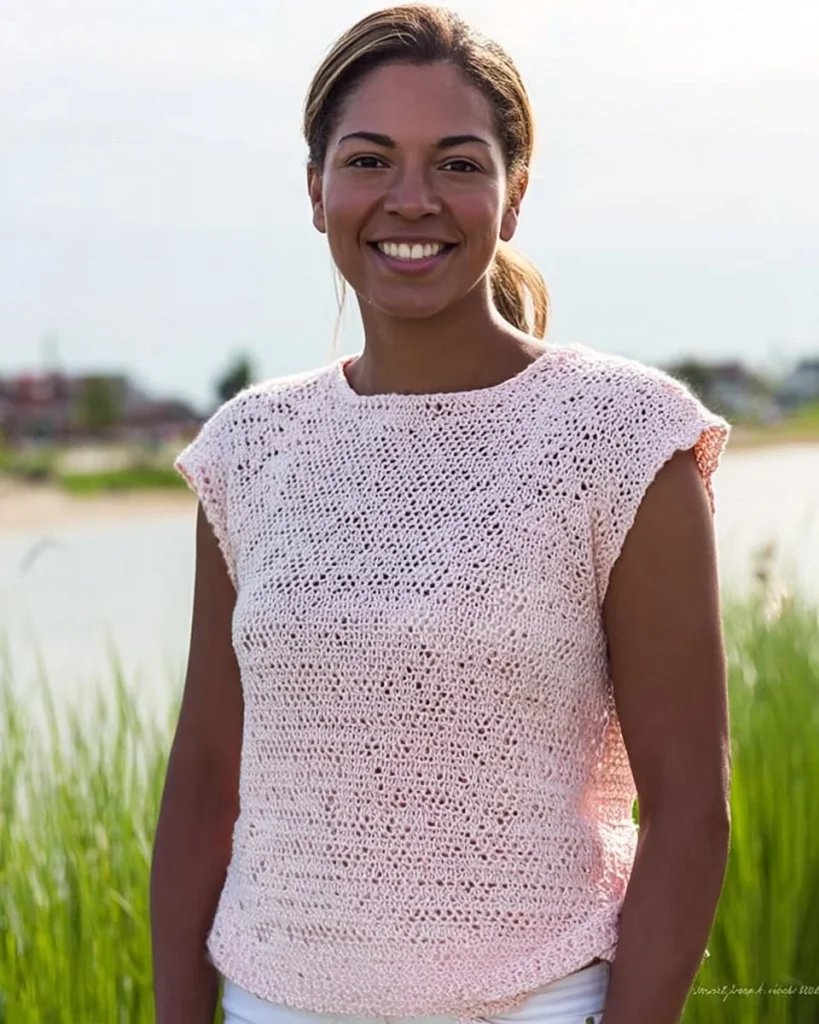
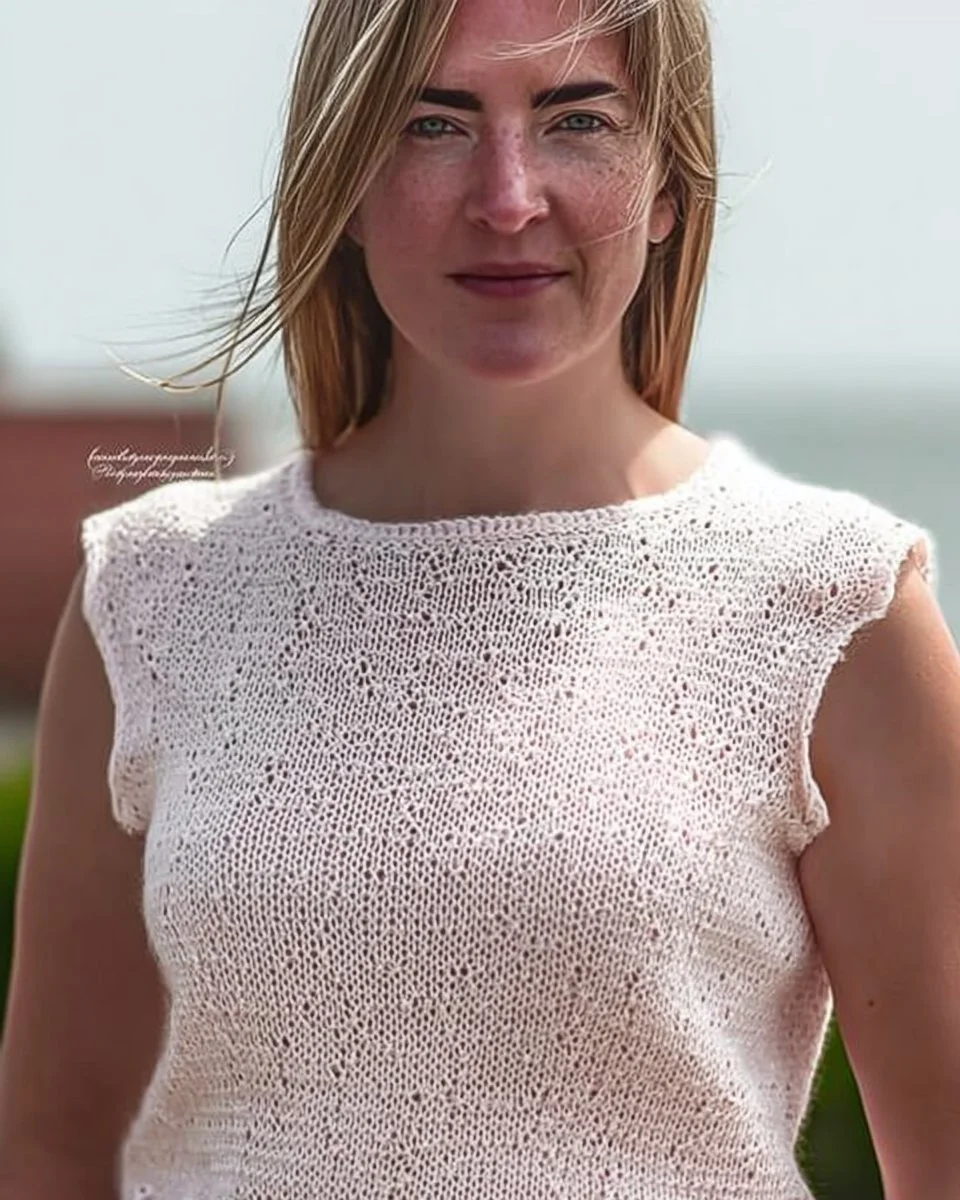
Simple Crochet Top Pattern for Women
Crocheting is a wonderful hobby that not only allows for creativity but also provides a tangible item that showcases your skill and artistry. Among the many projects that can be made with crochet, a simple crochet top for women stands out as a popular choice. Whether you’re looking for a light layer for the summer months or an elegant top for an evening out, this pattern is versatile and easy enough for beginners to follow. This article will guide you through a simple crochet top pattern, emphasizing important tips along the way.
Materials Needed
Before you dive into the world of crochet, gather the necessary materials. Here’s what you’ll need:
- Yarn: Choose a soft, breathable yarn suitable for the season, such as cotton or a cotton blend. You’ll need about 300-400 grams, depending on your size.
- Crochet Hook: Use a hook size appropriate for your yarn. This usually ranges from G (4mm) to H (5mm).
- Scissors: For cutting yarn.
- Tapestry Needle: To weave in the ends once you finish crocheting.
- Measuring Tape: To ensure the correct size for your top.
- Stitch Markers: To help mark different rounds or sections as you work.
Understanding the Basics
Before starting your crochet top, it’s essential to understand a few basic crochet stitches. The following stitches are frequently used in this pattern:
- Chain Stitch (ch): This is the foundational stitch used in crochet.
- Double Crochet (dc): This stitch creates a nice height and open stitch pattern, perfect for a light top.
- Slip Stitch (sl st): Use for joining rounds or working into spaces without adding height.
Simple Crochet Top Pattern
Step 1: Making a Foundation Chain
Begin by making a foundation chain. For a basic woman’s top, start with a chain of 70 stitches. This will give you a comfortable width for most body types.
Tip: If you want to adjust the size, remember that you need a multiple of 4 chains plus 2 extra chains for the foundation.
Step 2: First Row
- In the third chain from the hook, work a double crochet (dc).
- Continue to double crochet across the entire row.
- At the end of the row, chain 2 and turn your work.
Step 3: Subsequent Rows
- For rows 2 to 10, repeat the following:
- Yarn over and insert your hook into the top of the previous dc stitch.
- Work a double crochet across the row.
- At the end of each row, chain 2 and turn.
Step 4: Forming the Body of the Top
After completing the first 10 rows, you’ll need to start shaping the body of the top. This is where you can get a little creative!
Increase Stitches
To create more shape, you can add increases:
- At the beginning of every third row, add 2 dc in the first stitch.
- Continue until you reach 15 rows.
Step 5: Shaping the Armholes
To shape the armholes, you will need to split the work. Here’s how:
- For the next 4 rows, work only into the first 35 stitches, leaving the remaining stitches unused.
- Once you’ve reached row 19, repeat for the other side.
Step 6: Creating the Straps
Strap Foundation
- Once the armholes are shaped, chain 30 stitches for each strap.
- In the second chain from the hook, work a single crochet stitch.
- Work a single crochet across the chain for the whole length.
- Repeat this for the other strap.
Step 7: Joining the Straps
Once the straps are completed, it’s time to sew them onto the top!
- Use a tapestry needle to sew the straps to the front and back of the top, positioning them about 3-4 inches from the shoulder seams.
- Make sure the straps are securely attached for durability.
Step 8: Finishing Touches
- Weave in any loose ends using the tapestry needle.
- To give your top a polished look, consider adding a border around the armholes and neckline. A simple single crochet stitch around the edges will do just fine.
Step 9: Blocking Your Top
To ensure your crochet top has a polished finish, consider blocking your piece. Here’s how:
- Wash: Gently hand wash your top in cool water with a mild detergent.
- Pin: Lay the top flat on a towel and pin the edges to shape it as desired.
- Dry: Allow it to air dry completely.
Styling Your Crochet Top
Once your crochet top is complete, the next step is to style it! Here are a few ideas:
- Casual Look: Pair it with denim shorts and sandals for a relaxed daytime look.
- Bohemian Vibe: Style it with a flowing maxi skirt and some chunky accessories.
- Evening Glam: Layer it over a fitted dress for a chic evening ensemble or pair it with tailored trousers.
Tips for Success
- Practice Makes Perfect: Don’t get discouraged if your first attempt isn’t perfect. Crocheting is a skill that improves with practice.
- Experiment with Yarn: Different yarns will give your top different looks and feels. Don’t hesitate to try out various textures.
- Customization: Adjust the length, width, and stitch patterns according to your preference. Make the top uniquely yours!
Conclusion
Creating a simple crochet top for women is an enjoyable project that yields a stylish and functional piece of clothing. With just a few basic stitches and some creativity, you can make a beautiful addition to your wardrobe that showcases your crochet skills. The process is not just about crafting but also about enjoying the creative journey. So gather your materials, start crocheting, and don’t forget to share your final product with fellow crafters and fashion enthusiasts! Remember, the world of crochet is vast, and every piece you create adds to your personal story.

