
Julie the Jellyfish: A Crochet Adventure for Ocean Lovers
Crochet enthusiasts and ocean lovers alike, get ready to dive into a whimsical journey with our delightful pattern, Julie the Jellyfish! This enchanting amigurumi project not only brings a splash of color to your handmade toys collection but also serves as a fantastic way to practice your crochet skills. Whether you are a beginner or an experienced crocheter, creating Julie is a rewarding experience that connects the joy of crafting with the beauty of marine life. In this article, we will explore the process of making Julie the Jellyfish, her significance, and tips for crafting your own underwater friend.
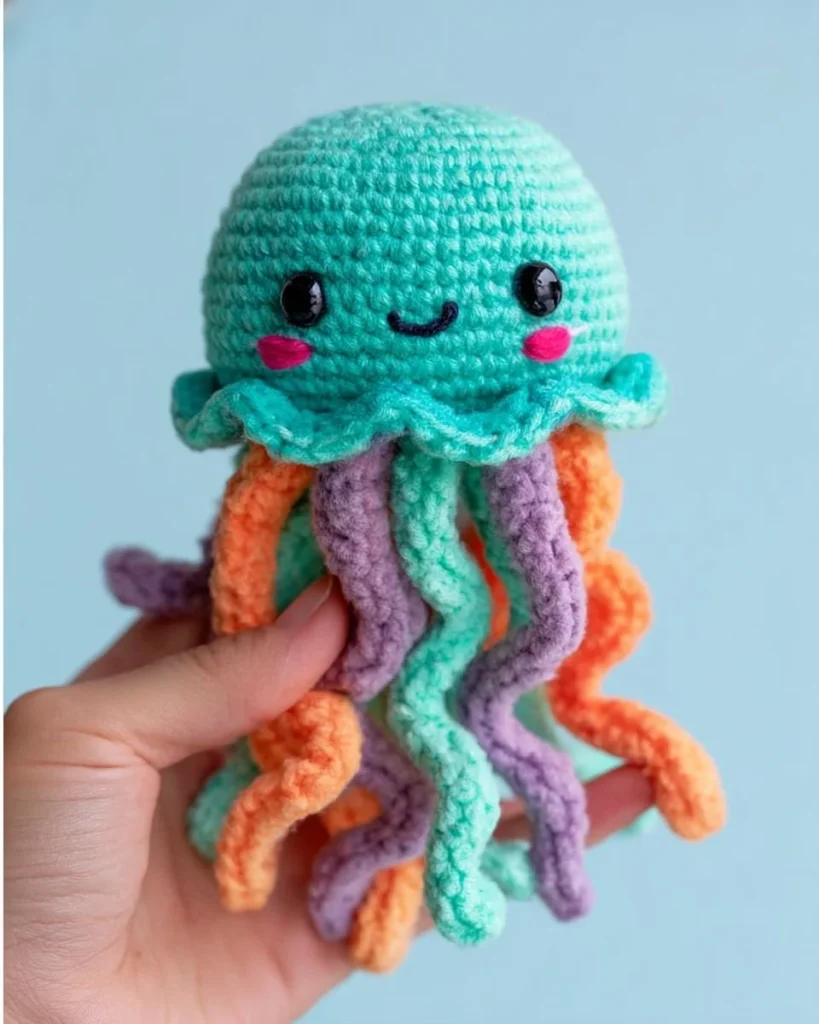
Meet Julie the Jellyfish
Jellyfish are fascinating creatures of the sea, known for their graceful movements and captivating beauty. While many tend to shy away from them due to myths and misconceptions, we’re here to show you that jellyfish can be friendly, too! Julie is a vibrant, friendly jellyfish designed to embody the spirit of the ocean while being soft and cuddly for both children and adults.
Why Crochet a Jellyfish?
Crocheting ocean-themed toys provides several benefits:
- Encourages Creativity: Adding your personal touch to colors and patterns can make each jellyfish unique.
- Skill Development: Working on an amigurumi pattern like Julie enhances skills such as increasing, decreasing, and working in the round.
- Educational Value: Creating a jellyfish helps in learning about marine life, presenting an opportunity for discussions about ocean conservation.
Getting Started with Your Crochet Project
Before you embark on this delightful crochet journey, ensure you have the right materials at hand.
Materials Needed
- Yarn: Light-weight yarn in various colors for the body and tentacles (preferably in vibrant shades like pink, blue, or purple).
- Crochet Hook: A suitable size hook for your yarn (usually between size G and J).
- Stuffing: Polyester fiberfill to give Julie her jelly-like form.
- Stitch Markers: To keep track of rounds.
- Scissors: To cut your yarn.
- Tapestry Needle: For weaving in ends and attaching parts.
Gauge
Though gauge may not be critical for an amigurumi project, ensure your stitches are tight enough to prevent the stuffing from showing through. A standard gauge for light-weight yarn would be around 10 stitches per 2 inches.
Crochet Julie: The Pattern
Now it’s time to gather your supplies and get started on crafting Julie! Here’s a complete guide to the steps involved:
Body of Julie
-
Magic Ring: Start with a magic ring and chain to form a small circle.
-
Increase Rows: Round 1: 6 single crochets (sc) into the magic ring.
Round 2: 2 sc in each stitch around (12 stitches).
Round 3: 1 sc, 2 sc in next stitch repeat around (18 stitches).
-
Continue increasing until the body is approximately 5 inches in diameter. This can vary depending on your preference.
-
Work the Shell: For the next few rounds, single crochet in each stitch without increasing until you reach the desired height—around 4 inches is ideal.
Tentacles
With Julie’s body completed, it’s time to craft her whimsical tentacles!
-
Create Tentacles: Using a separate color, chain 25 and then dc into the first chain. Continue working dc down the chain to create a spiraled form.
-
Attach Tentacles: Make 4 to 6 tentacles, attach them to the main body under the finished shell edge, evenly spaced so that they drape gracefully.
-
Finishing Touches: Weave in any loose ends, and gently stuff the body of Julie to make her pop!
Personalizing Julie
What’s more delightful than a plain jellyfish? A personalized one! Consider these ideas:
- Color Combinations: The ocean is full of vibrant colors, so let your creative juices flow! Julie can be pastel, neon, or even a gradient of colors.
- Accessories: Add a cute bow on her head, or embellish her tentacles with beads for an extra touch of sparkle.
- Different Sizes: Play around with hook sizes and yarn thickness to create various sizes of Julie, perfect for a jellyfish family!
Caring for Your Crochet Jellyfish
Your finished Julie the Jellyfish deserves to be cherished. Here’s how to maintain her charm:
- Washing: If she gets dirty, hand-wash her with mild soap and warm water, then lay her flat to dry.
- Storage: Keep her in a safe place away from direct sunlight to prevent the colors from fading.
The Charm of Amigurumi
Julie is more than just a crochet project; she represents joy and creativity. Making amigurumi teaches patience and precision, and each completed piece tells a unique story. By introducing children to the art of crochet, you nurture not only a hobby but also an opportunity to bond through storytelling and imagination.
Julie in the Classroom
If you’re an educator, consider integrating Julie the Jellyfish into your teaching. Here are some ideas:
- Creative Arts: Host a crochet workshop to teach students how to make their own Julies.
- Marine Biology: Discuss the importance of marine life and the role jellyfish play in ocean ecosystems.
- Eco Awareness: Initiate discussions about ocean conservation, inspiring students to care for the environment.
Conclusion
Creating Julie the Jellyfish is a fun and fulfilling way to express creativity while celebrating the beauty of marine wildlife. This charming crochet project allows you to craft something special that can be loved by people of all ages. With her vibrant colors and playful spirit, Julie will bring joy and warmth to any home.
So gather your materials, grab your crochet hook, and start your underwater adventure today! Remember that the journey of making Julie is as important as the final product. Happy crocheting!
