
If you’ve been searching for the perfect crochet hat pattern free to bookmark forever, stop scrolling — you’ve found it. The Ribbed Wonder is an easy, beginner-friendly beanie that works up quickly in bulky yarn, looks incredibly stylish, and only requires three basic stitches. Whether you’re brand new to crochet or a seasoned maker looking for a quick gift project, this free crochet hat pattern is going to become your most-reached-for go-to.
What Is the Ribbed Wonder Crochet Hat?
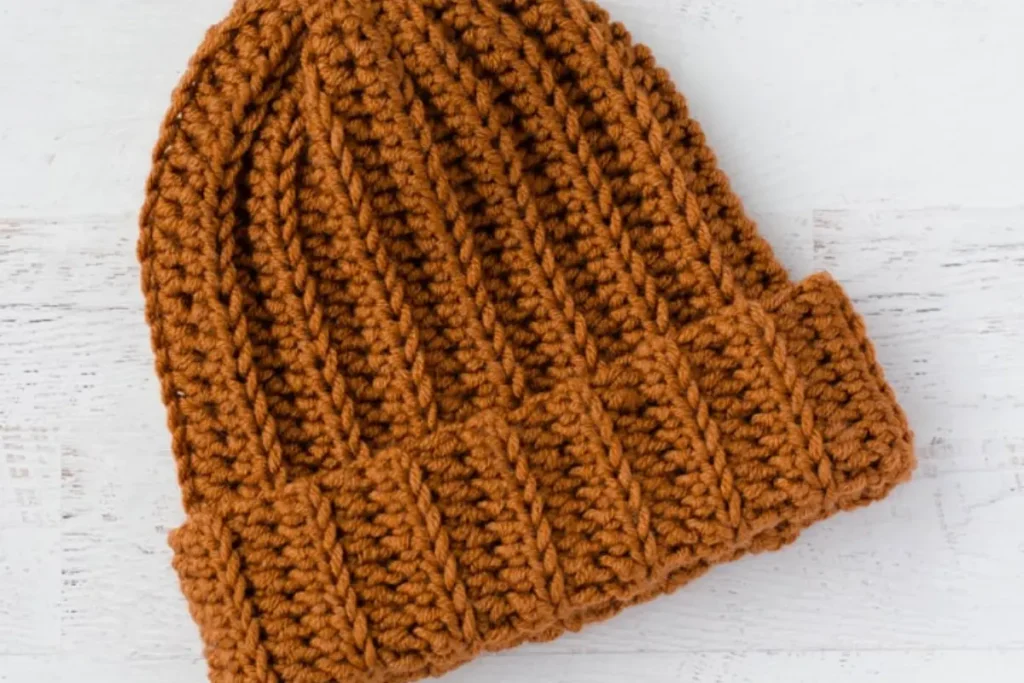
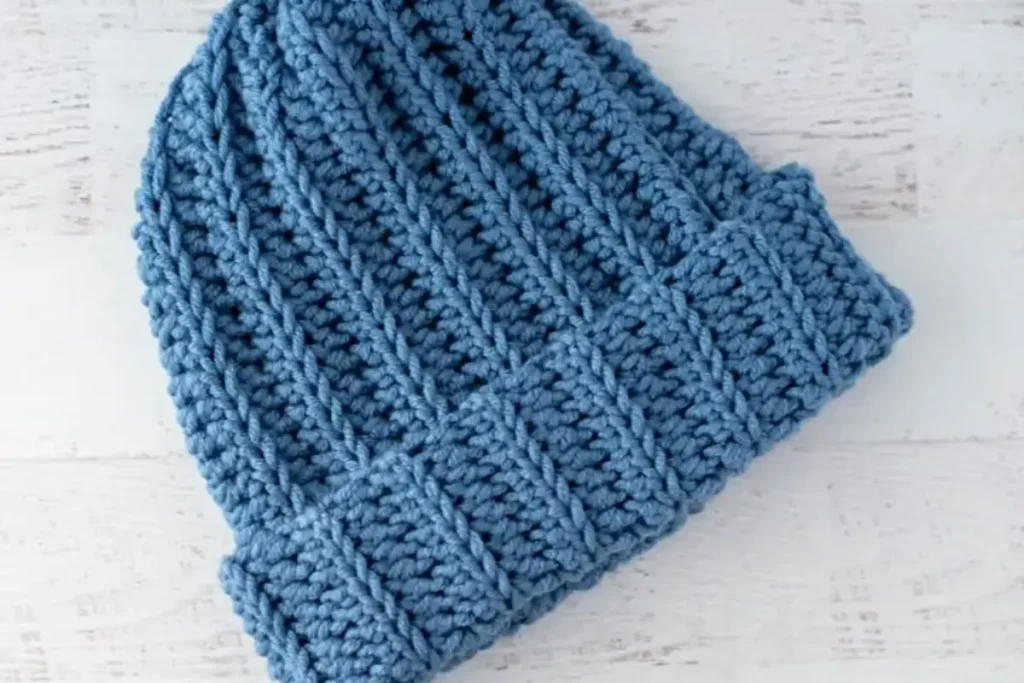
The Ribbed Wonder is a ribbed beanie pattern worked flat in rows of half double crochet stitches, then seamed into a tube and cinched at the top. The result? A beautifully textured, stretchy hat with a fold-up cuffed brim that fits adult heads measuring 21″–23″ around.
What makes this one of the best crochet hat patterns free on the internet? It’s genuinely simple. You don’t need to work in the round, manage complex increases, or memorize stitch counts. You crochet a rectangle, seam it, cinch it, and you’re done.
Materials You’ll Need
Before diving into how to crochet a hat free pattern style, gather your supplies:
- US L-11 / 8mm crochet hook (larger than the yarn label recommends — this is intentional for a soft, stretchy fabric)
- 4.25 oz of #5 Bulky weight yarn — the original uses Lion Brand Color Made Easy in “Kombucha,” but more yarn options are listed below
- Tapestry needle and scissors
Best Yarn Choices for This Easy Crochet Hat
The pattern is designed for a #5 bulky weight yarn, and yarn choice makes a big difference in how your finished hat looks and feels. Here are some top picks:
- Lion Brand Color Made Easy — the original yarn used in the pattern. A smooth, plied acrylic that works up quickly and comes in gorgeous colors.
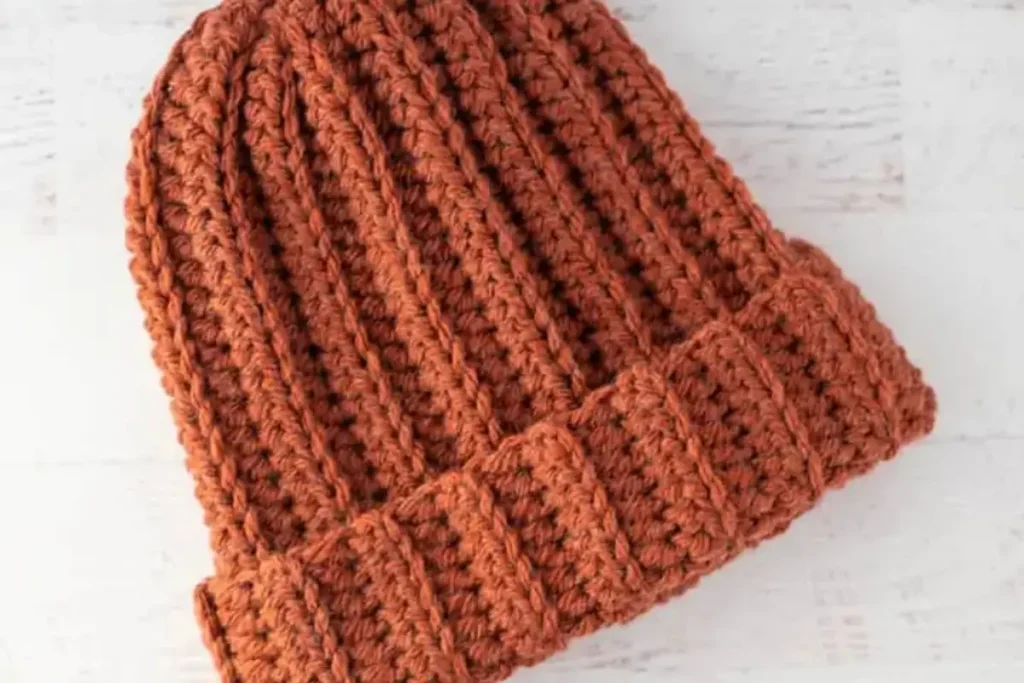
- Lion Brand Hue + Me — a chunky wool blend with beautifully neutral, earthy tones. Color #134 Spicy (a rust orange) is particularly stunning.
- Scheepjes Chunky Monkey — technically an aran weight but crochets up identically with the same hook. A great choice if you want a slightly firmer fabric with more body.
Note: Avoid swapping to a #6 super bulky yarn without adjusting your hook size and stitch count — the gauge will change significantly.
Crochet Hat Size Guide
This simple crochet hat pattern free is designed for one size, but it can be adapted:
| Size | Chain Start | Stitches per Row | Number of Rows | Rectangle Size |
|---|---|---|---|---|
| Adult | Chain 37 | 35 sts | 30 rows | 13″ wide × 20″ tall |
| Child (19–21″) | Chain 32 | 30 sts | 28 rows | 11″ wide × 18″ tall |
| Toddler (18–20″) | Chain 28 | 26 sts | 26 rows | 10″ wide × 17.25″ tall |
How to Crochet a Hat: Free Pattern Instructions
Here is the complete free crochet hat patterns step-by-step guide for the adult size.
Stitches Used
- Chain (ch)
- Slip stitch (sl st)
- Half double crochet (hdc)
- Back loop only (BLO)
Understanding Back Loop Only (BLO)
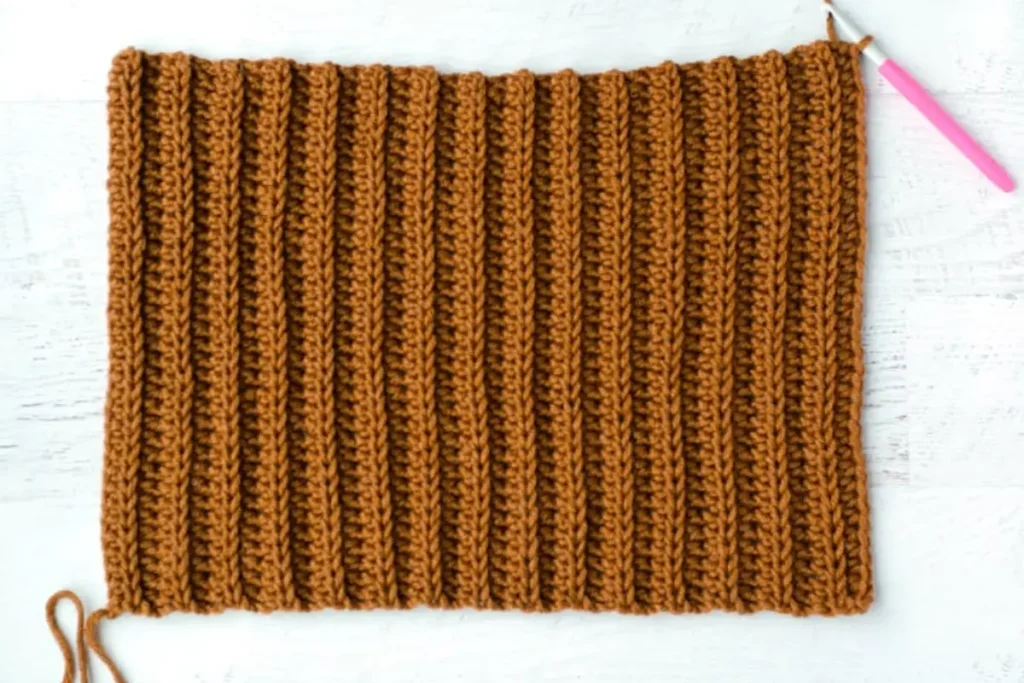
Before you begin, it’s worth understanding what “back loop only” means. When you look at the top of a crochet stitch, you’ll see a “V” shape. The back loop is the part of that V that sits farthest away from you as you work. Working into this loop pushes a visible ridge forward, creating the ribbed texture that makes this hat so beautiful.
When working back and forth in rows (as in this pattern), you continue inserting your hook into the loop farthest from you on every row — even after turning your work.
Step-by-Step Pattern
Chain 37.
Row 1: Hdc in the 3rd chain from hook and in each chain across. (35 stitches)
Rows 2–30: Ch 2 (does not count as a stitch), hdc in the back loop only across the row. (35 stitches)
At the end of Row 30, you’ll have a rectangle of beautiful ribbed crochet fabric measuring approximately 13″ wide by 20″ tall.
How to Seam and Finish the Hat
Step 1: Prepare to seam. Chain 1, then turn your work. Fold the piece so the starting chain edge meets the last row — right sides together (the wrong side will face out).
Step 2: Slip stitch the seam. Insert your hook into the starting chain, then into the back loop of the corresponding stitch on the working row. Slip stitch them together. Continue slip stitching loosely across the entire edge. Work loosely so the seam stays stretchy.
Step 3: Cinch the top. After fastening off, leave a long yarn tail. Thread this onto your tapestry needle and run a running stitch around the open end of the tube. Pull tight to gather, then tie a secure knot.
Step 4: Close the hole. Use the needle to stitch the small remaining hole closed. Weave in all ends.
Step 5: Finish. Turn the hat right side out and fold up the brim. For a slouchy hat look, skip folding the brim!
How to Crochet a Super Easy Slouchy Hat Free Pattern (Variation)
Want a relaxed, slouchy vibe instead of a classic beanie? Simply skip folding up the brim, or add 4–5 extra rows to your rectangle before seaming. The extra length creates a naturally slouchy silhouette that sits loosely on the head. No additional instructions needed — the beauty of this pattern is its flexibility.
Frequently Asked Questions
How to crochet a hat free pattern for beginners?
This Ribbed Wonder pattern is ideal for beginners. You only need to know how to chain, slip stitch, and make a half double crochet. The flat construction (working in rows rather than rounds) makes it much easier to follow than most hat patterns.
How to crochet a bucket hat free pattern?
A bucket hat has a brim that sticks out horizontally around the base. To adapt this ribbed pattern into a bucket hat style, you would crochet the main body as described, then add a flat brim by picking up stitches along the cast-on edge and working several rounds outward with increases. While this specific pattern doesn’t include a bucket hat brim, it makes a great starting base.
How to crochet a cowboy hat free pattern?
A cowboy hat requires a structured crown and a wide, stiffened brim — best achieved with a firm cotton or stiffened yarn. The Ribbed Wonder’s construction (flat rectangle + seaming) gives you the crown shape, but you’d need to add a shaped brim and stiffening agent separately. It’s an adventurous modification for more experienced crocheters!
How to crochet a super easy slouchy hat free pattern?
See the variation section above! Add extra rows to your rectangle (try 34–36 rows instead of 30), seam as directed, and skip folding the brim. The hat will sit slouchy and relaxed on the head.
Where’s Waldo crochet hat pattern free?
If you’re looking to make a Waldo-style red-and-white striped beanie, this ribbed pattern adapts beautifully to stripes! Simply switch between red and white yarn every 2–4 rows while crocheting your rectangle, keeping your color changes consistent. The stripe lines will run vertically on the finished hat, just like Waldo’s iconic look.
Can I use worsted weight (#4) yarn for this free crochet hat pattern?
Yes, but you’ll need to adjust your stitch and row counts. Make a small gauge swatch, measure it, and calculate how many chains and rows you need to reach the same rectangle dimensions as the pattern. You may also need an extra skein of yarn.
Can I add a pom pom?
Absolutely! Yarn pom poms work beautifully with this style. Use the yarn tails from making the pom pom to sew it securely to the cinched top on the inside of the hat. Fur pom poms can be sewn on with a needle and thread.
Tips for Getting the Best Results
On gauge: The pattern uses a US L-11/8mm hook with a #5 bulky yarn. This creates a slightly looser fabric than the yarn label recommends — intentionally, for a soft, stretchy hat. Always test your gauge if you’re using a different yarn.
On the back loop: If your hat isn’t forming visible ridges, double-check that you’re inserting your hook into the loop farthest from you. This is the most common beginner mistake with BLO patterns.
On seaming: Before you start slip stitching the seam, use stitch markers to align both ends at key intervals. This prevents you from running short or long by the end of the row.
On sizing: The hat is very stretchy and forgiving. Don’t stress if your rectangle is a row or two off — it’ll still fit a range of head sizes beautifully.
More Free Crochet Patterns to Try Next
Loved making this hat? Keep your hooks moving with these other free patterns:
- 🧶 Full of Texture Crochet Beanie — Free Pattern — Another stunning beanie with rich stitch texture for cold-weather crochet.
- 🧣 Easy Free Crochet Scarf Pattern for Men — The perfect companion to your new ribbed hat!
- 🧥 15 Free Crochet Vest Patterns — Level up your wardrobe with a cozy crochet vest.
- 🧸 Plush Axolotl Amigurumi Free Crochet Pattern — When you need a break from wearables, make the most adorable axolotl!
- 🌻 Julie the Jellyfish — A whimsical amigurumi project for a fun change of pace.
- 🍼 Easy Textured Crochet Baby Blanket Free Pattern — Use your leftover bulky yarn for a quick and cozy baby gift.
Why This Is the Only Free Crochet Hat Pattern You Need
There are hundreds of free crochet hat patterns on the internet, but the Ribbed Wonder stands out for a few key reasons:
- Beginner-friendly construction — flat rows instead of working in the round
- Only 3 stitches required — chain, hdc, and slip stitch
- Quick project — most crocheters finish in a single evening with bulky yarn
- Endlessly adaptable — three sizes, multiple yarn options, slouchy or brimmed variations
- Great for donations — fast and easy enough to make in bulk for charity drives
Whether you’re making your first ever hat or your hundredth, this pattern delivers reliable, beautiful results every single time. Grab your hook and your favorite bulky yarn — it’s time to make something wonderful.
Happy crocheting! Tag your finished hats so the community can admire your work.
