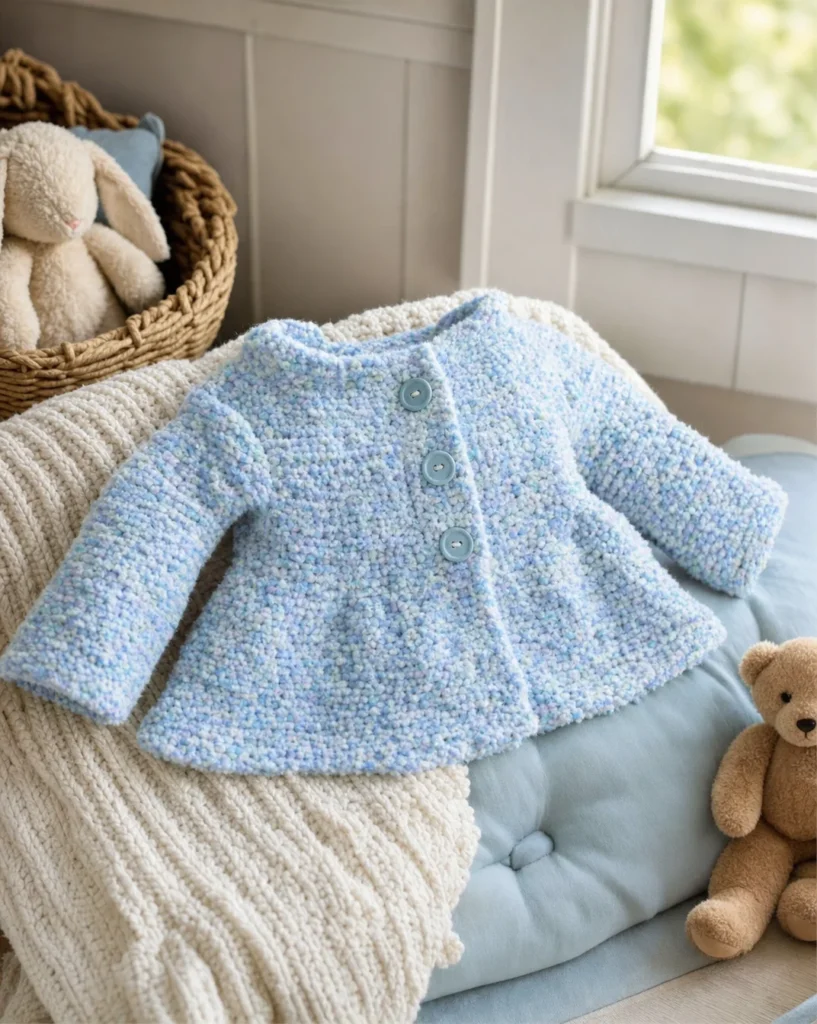
Crochet Swing Jacket for Baby: A Detailed Guide
Creating adorable clothing for babies can be a rewarding experience, and the Crochet Swing Jacket for Baby is a perfect project for both novice and experienced crocheters. This pattern combines comfort and style, making it a wonderful addition to any little one’s wardrobe. Below, you’ll find a comprehensive guide on the materials needed, the step-by-step instructions, and some tips for assembling this lovely jacket.

Materials Needed
For this project, you will require the following materials:
-
Yarn:
- 2 (2, 3) skeins of RED HEART® “Baby Clouds™” in color 9925 Playtime Multi.
-
Crochet Hooks:
- 15mm (P-19)
- 10mm (US N-15)
- 6.5mm (US K-10½)
-
Other Supplies:
- Yarn needle
- 3 – 3 ¾” round shank buttons
Instructions
Here’s a detailed breakdown of how to create the Crochet Swing Jacket for your baby.
Coat Peplum
- Foundation: With the medium hook, chain 10.
- Row 1 (Right Side): Change to the largest hook and slip stitch in the back horizontal bar of each chain, turn – 10 slip stitches.
- Row 2: Working in the back loops only, slip stitch in each slip stitch, turn – 10 slip stitches.
- Repeating: Continue repeating Row 2 until the piece measures 26 (27, 28) inches. Do not fasten off.
Bodice
- Starting: Turn work to start on the sides of the previous rows.
- Row 1 (Right Side): With the medium hook, chain 1, work 40 (42, 44) single crochets evenly across, turn.
- Rows 2-3: Chain 1, single crochet in each single crochet across, turn. Do not fasten off.
Left Front
- Shape Armhole:
- Row 1 (Wrong Side): Chain 1, single crochet across 9 (10, 10), turn – 9 (10, 10) st.
- Row 2: Chain 1, single crochet two together, single crochet in each across, turn – 8 (9, 9) st.
- Row 3: Chain 1, single crochet to last 2 stitches, single crochet two together, turn – 7 (8, 8) st.
- Continue shaping as per the guide for the left front until the neck shaping is complete.
Back
- Shape Armholes:
- Begin joining at the bodice following the specified rows to form the back, repeating the instructions until reaching the armhole and shoulder shapes.
Right Front
- Follow similar instructions to the left front for armhole shaping, ensuring you adapt the counts as specified in the pattern to keep both sides symmetrical.
Sleeves (Make 2)
- With medium hook, chain 13 (14, 14).
- Sc in the second chain from the hook and remain, turn – creating the body of the sleeve.
- Continue following the instructions for the sleeves which dictate increasing and decreasing stitches, tailoring the final fit.
Assembly / Finishing
-
Sewing: Attach the shoulders, set in the sleeves, and sew sleeve seams to complete the structure.
-
Buttonband:
- Mark buttonhole positions on the right front.
- Join yarn with slip stitch and work evenly along the front and neck opening.
- Create buttonholes by chaining as specified and fasten off.
Final Touches
Once you’ve sewn your buttons opposite the buttonholes, weave in any loose ends to ensure a clean finish. Your Crochet Swing Jacket is now ready to wear!
Conclusion
The Crochet Swing Jacket for Baby is a charming project that can be gifted or cherished for your own little ones. With patience and love, this pattern can be transformed into a vibrant, cozy piece that adds warmth and style to any outfit. Happy crocheting!
For more detailed instructions or to see the pattern visually, you can visit the original source linked here.