
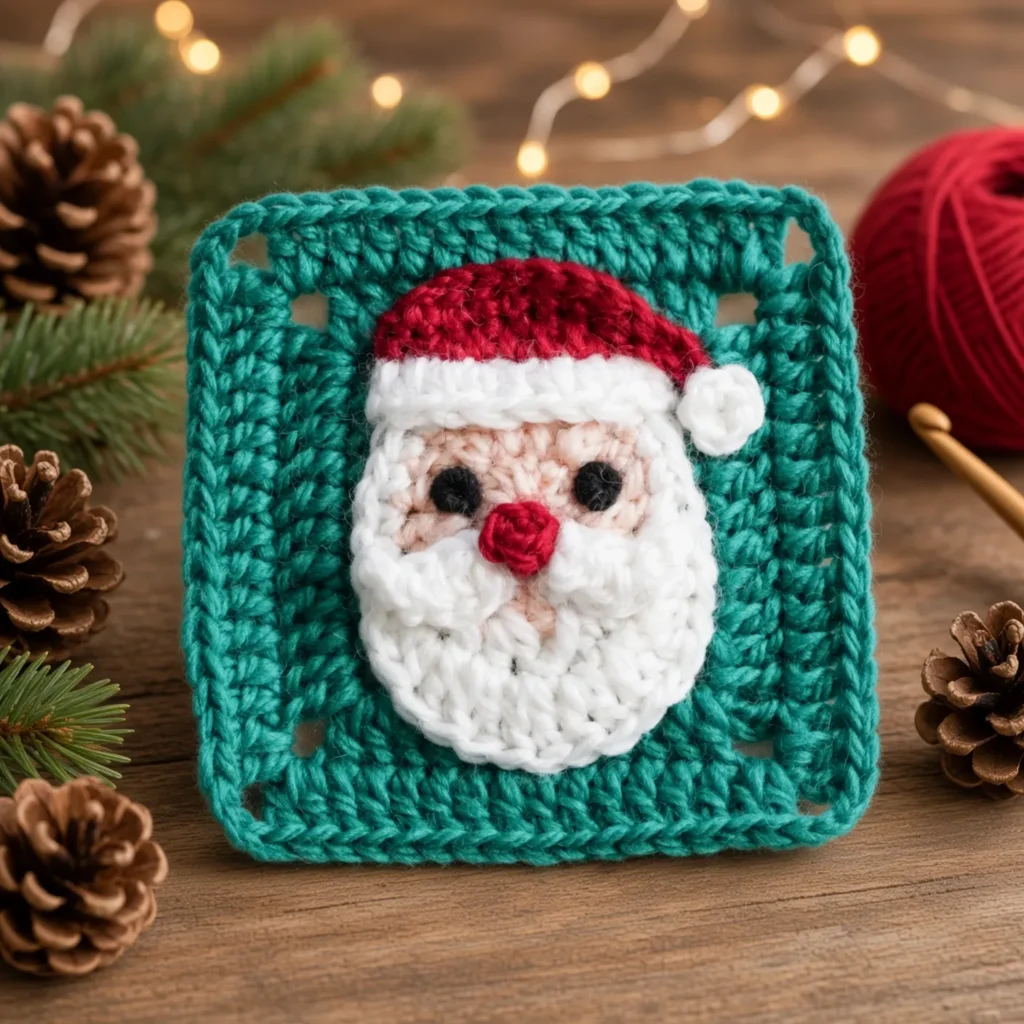
The holiday season is the perfect time to add some festive flair to your crochet projects, and what says “Merry Christmas” quite like a jolly old Saint Nick? This Santa Granny Square pattern takes the classic, beloved granny square and gives it a whimsical 3D twist by building a cute Santa face right in the center.
Whether you are planning to crochet a Christmas blanket, a festive holiday pillow, or a cute winter wall hanging, this Santa square is sure to be the star of the show. It uses basic crochet stitches and works up quickly, making it a perfect weekend project.
Grab your red, white, and skin-toned yarn, and let’s get crocheting!
Watch the Video Tutorial
Sometimes seeing the stitches in action makes all the difference. Follow along with this step-by-step video tutorial to see exactly how to construct the face, beard, and hat before joining it to your granny square background.
Materials Needed
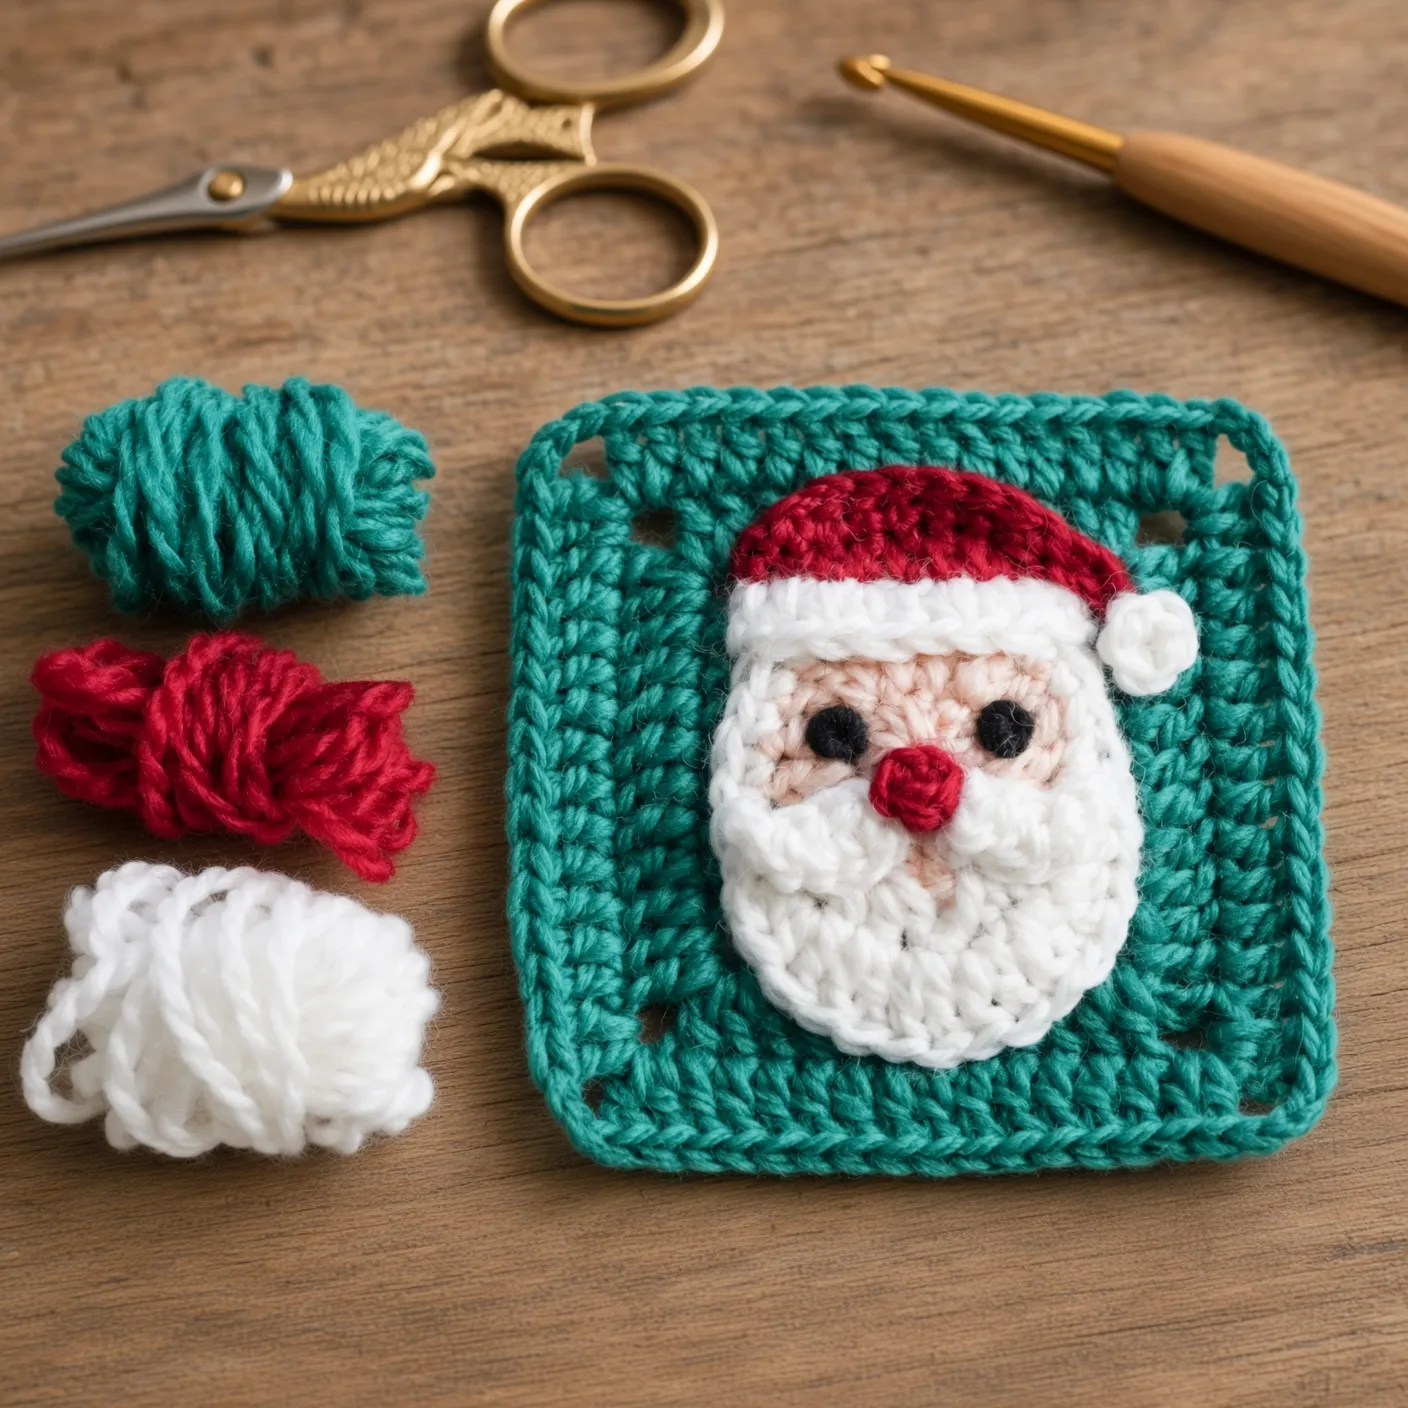
- Yarn of your choice (3 colors): The sample was made using DK/sport weight wool yarn in Red, White, and a Skin tone.
- Crochet Hook: 3.50 mm hook (or whatever hook size matches your chosen yarn weight).
- Darning Needle: For weaving in ends and sewing pieces together.
- Scissors
- Black Yarn or Embroidery Floss: For creating the French knot eyes.
Pattern Instructions
Note: This pattern is worked in separate pieces and then assembled. Standard US crochet terminology is used.
Part 1: Santa’s Face
Round 1: Make a magic loop. Chain 2 (counts as 1 half double crochet / hdc). Make 11 hdc into the loop. Slip stitch (slst) to the top of the first chain 2 to join. (12 stitches total)
Round 2: Chain 3 (counts as 1 double crochet / dc). Make 1 hdc in the same stitch. Continue around with: 1 hdc, 1 hdc + 1 dc (in the next st), 1 dc + 1 hdc (in the next st), 1 dc, 1 dc + 1 hdc (in the next st), hdc increase (2 hdc in the next st), 1 dc, hdc increase, 1 hdc + 1 dc, 1 dc, 1 hdc + 1 dc. Slip stitch to the top of the first chain 3. Fasten off.
Part 2: Full Beard
Rotate your face piece 180 degrees. Attach your white yarn to the hdc of the upper (1dc + 1hdc) group on the right side.
- Chain 1. Single crochet (sc) increase in the next stitch, then make 1 hdc.
- Next, work a dc2tog starting in the same stitch where you just made the hdc, and skip 1 stitch in between.
- Work 1 hdc in the same stitch where you completed the dc2tog (the stitch that holds the 2nd leg of the dc2tog).
- Sc increase, slst to the next stitch.
Now, continue crocheting directly onto the face edge:
- Sc increase, 3 sc, sc increase, 3 sc, sc increase, 3 sc, sc increase.
Next, you will crochet across the beard piece you just made:
- Skip the first chain 1. Work 1 sc + 1 hdc in the next stitch, 1 hdc + 1 dc, (dc increase) 4 times, 1 dc + 1 hdc, 1 hdc + 1 sc.
- Slip stitch to the first sc. Fasten off.
Part 3: Santa’s Hat
White Trim: With white yarn, chain 10. Return, skip 2, and working in the Back Loop Only (BLO), make 7 hdc. Chain 2, slst to the final chain. Fasten off.
Red Hat Body: Rotate the piece 180 degrees. Add red yarn in the right-most chain. Chain 1, 1 sc in the next chain, 5 hdc, 1 sc, chain 1, slst to the next chain.
Turn over. Chain 1 as a standing stitch. Make 3 sc, then 4 sc in the BLO. Slip stitch to join.
Hat Brim: Turn over. Chain 3, return, skip 1, and working in the BLO, make 1 slst in each chain around (8 slst total). Fasten off.
Part 4: Mustache
- First Half: Chain 6. Return, skip 1, and working in the BLO: slst, sc2tog, 2 hdc. Chain 1, slst to the same chain where you made the last hdc. Fasten off.
- Second Half: Chain 5. Return, skip 1, and working in the BLO: slst, sc increase, 2 hdc. Chain 1, slst. Fasten off.
Part 5: Pom-Pom & Nose
- Pom-Pom: Make a magic loop. Chain 1 as a standing stitch, make 5 sc into the loop. Pull the tail tightly to close. Fasten off, leaving long tails for attaching.
- Nose: Make a magic loop. Chain 1 as a standing stitch, make 4 sc into the loop. Pull the tail tightly to close. Fasten off, leaving long tails for attaching.

Part 6: Granny Square Background
Round 1: Make a magic loop. Chain 3 (counts as 1 dc). Work 3 dc, chain 3. Repeat [4 dc, chain 3] 3 more times. Omit the final chain 3. To join the round, work 1 chain, then 1 hdc into the top of the first chain 3.
Rounds 2 & 3: Chain 3 to begin (counts as 1 dc). Make 1 dc in the same corner stitch. Work 1 dc in each stitch around the sides. In each corner, work (2 dc, chain 3, 2 dc). When you reach the end of the round and return to the starting corner, make 2 dc into the starting corner. Join the round with 1 chain, then 1 hdc into the top of the beginning chain 3.
Round 4: Work the sides and corners exactly as you did in Rounds 2 and 3. When you return to the starting corner, work 2 dc, chain 3, then slst to the top of the first true dc (not the chain 3). Fasten off.
Final Assembly
- Hat: Sew the white trim and red hat body to the top of Santa’s face. Sew securely in place.
- Pom-Pom: Sew the small pom-pom to the tip of the hat so it dangles cutely beside the face.
- Mustache: Sew one mustache piece on each side of the nose, angling them outward toward the cheeks.
- Nose & Eyes: Sew the nose at the center point between the two mustaches. Finally, use black yarn or embroidery floss to make two French knots for Santa’s eyes.
More Festive Christmas Granny Square Patterns
If you loved making this Santa square, you’ll definitely want to add these other holiday-themed squares to your Christmas crochet lineup! They are perfect for mixing and matching to create a truly magical holiday blanket.
- Christmas Star Granny Square Pattern: This beautiful, eye-catching star pattern is a classic holiday motif that pairs beautifully with the Santa square.
- 3D Christmas Tree Granny Square Pattern: Take your granny squares to the next dimension with this fun, textured tree design that literally pops off the page!
- Rustic Star Granny Square Pattern: If you prefer a more farmhouse-style or rustic Christmas aesthetic, this star square is an absolute must-crochet.
Happy Crocheting, and have a wonderful holiday season!

1 thought on “Free Santa Granny Square Pattern for Christmas (+Video Tutorial)”