
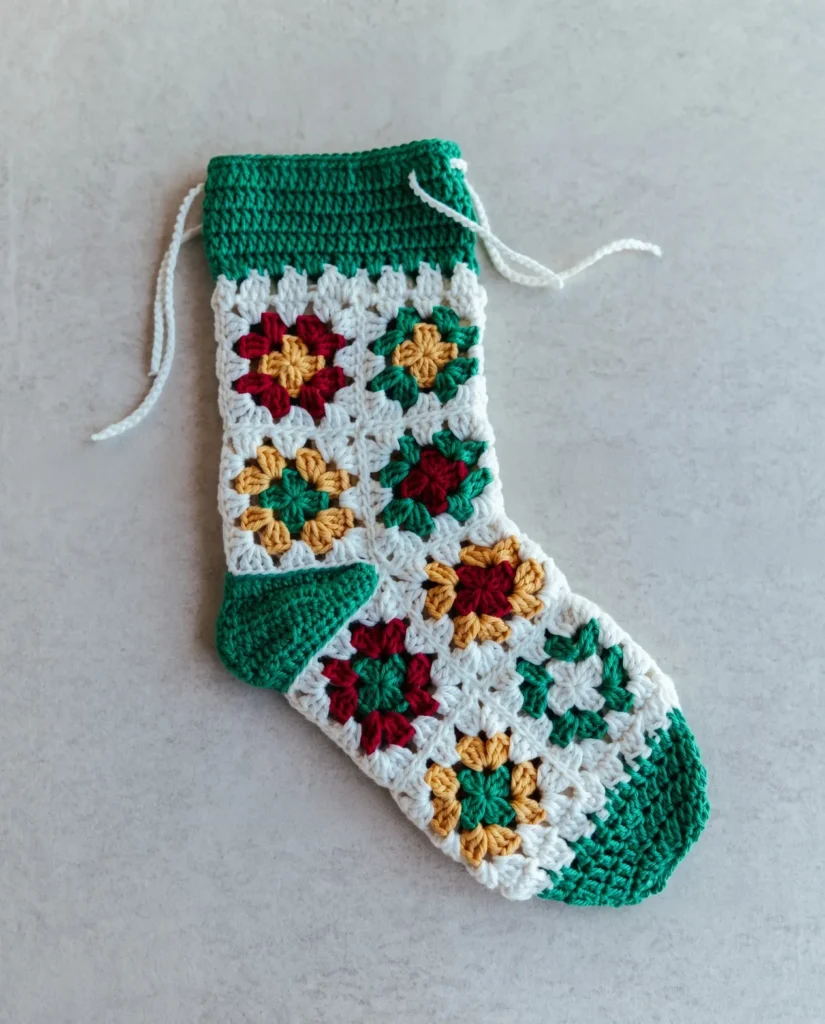
There is nothing quite as magical as a handmade holiday decoration, and a crocheted Christmas stocking is a timeless heirloom that your family will cherish for years to come. If you love the classic, nostalgic look of granny squares, this pattern is the perfect way to combine that beloved motif with festive holiday decor.
This Granny Square Christmas Stocking is constructed using 16 traditional granny squares that are seamlessly joined together. What makes this pattern incredibly unique is the clever shaping technique used for the heel and the toe, which uses decreasing clusters to gracefully round out the bottom of the foot. It is a fantastic project for intermediate crocheters who are ready to take their granny square joining skills to the next level!
Before you begin assembling your stocking, you can easily customize the look by swapping out the traditional squares for festive motifs. Try using a Christmas star granny square pattern or a stunning 3D Christmas tree granny square pattern to add some dimensional holiday cheer. You could even mix in a rustic star granny square pattern for a cozy, cabin-inspired aesthetic!
Materials Needed
- Yarn of your choice- 4 colors – the sample we made used the cotton yarn throughout
- Crochet hook- we are using a 3.00mm hook
- Darning Needle
- Scissors
This pattern uses USA crochet terminology.
Pattern Instructions
Crochet 16 Granny Squares
Round 1: Start with a magic ring, ch3 as a standing st(count as 1dc), 2dc, ch3. 3dc, ch3rep 3 times, sl st to the top of the first ch3, fasten off.
Round 2: Join new yarn to any ch-sp, ch3 as a standing st(count as 1dc), 2dc in the same ch-sp, ch1, (3dc, ch3) in next ch-sp. (3dc, ch1) in the current ch-sp, (3dc, ch3) in next ch-sp rep 3 times, sl st to the top of the first ch3, fasten off.
Round 3: Join new yarn to any corner sp, ch3 as a standing st(count as 1dc), 2dc in the same corner sp, ch1, (3dc, ch1) in next ch-sp, (3dc, ch3) in next ch-sp. (3dc, ch1) in the current ch-sp, (3dc, ch1) in next ch-sp, (3dc, ch3) in next ch-sp rep 3 times, sl st to the top of the first ch3, fasten off.

Heel Piece of Stocking
Row 1: Knot on your hook, ch27. sk1, sl st to the 25th ch, 4sc, 5hdc, 6dc, 5hdc, 4sc, sl st to the last ch.
Row 2: Turn Over. ch1, sl st to the next st, 3sc, sc-inc, 2hdc, hdc-inc, 2hdc, dc-inc, 1dc, (dc-inc)×2, 1dc, dc-inc, 2hdc, hdc-inc, 2hdc, sc-inc, 3sc, sl st to the last slst.
Row 3: Turn Over. ch1, sl st to the next st, 5sc, 6hdc, 10dc, 6hdc, 5sc, sl st to the last slst.
Row 4: Turn Over. ch1, sl st to the next st, 3sc, sc2tog, 2hdc, hdc2tog, 2hdc, dc2tog, 1dc, dc2tog, 1dc, dc2tog, 2hdc, hdc2tog, 2hdc, sc2tog, 3sc, sl st to the last slst.
Row 5: Turn over. ch1, slst to next st, 4sc, 5hdc, 6dc, 5hdc, 4sc, sl st to next st. ch1, hdc-inc in next slst, ch1, sl st to next st, 4sc, 5hdc, 6dc, 5hdc, 4sc, slst to next xt, ch1, hdc-inc in next slst, ch1, sl st to the first slst of this round, fasten off.
Join Granny Squares- Thread Needle Method
Turn over. slst to next st, 4sc, 5hdc, 6dc, 5hdc, 4sc, sl st to next st. ch1, hdc-inc in next slst, ch1, sl st to next st, 4sc, 5hdc, 6dc, 5hdc, 4sc, slst to next st, ch1, hdc-inc in next slst, ch1, sl st to the next slst, fasten off.
start from the heel piece Each side of the heel gets two granny squares. Pick any side of the heel piece. Start joining the first square at the first ch1 of that edge, and continue join second square seamlessly to the final ch1.
complete stocking body Sew the other 12 squares one-to-one use the Thread Needle Method.
NOTE: Join these 4 squares for the instep part one to one with tighter stitches than you used for the leg and sole.
Toe Section
Now work on the 4 squares at the bottom: 2 visible on the front side and 2 on the wrong side. Begin with either the top 2 squares or the bottom 2 squares of this group.
Round 1: Join yarn to the 2nd corner sp from right. ch2 as a standing st(count as 1 incomplete dc), 1 incomplete dc in the same corner sp, 2 incomplete dc in next corner sp, yo and pull through all loops to form a dc4tog. ch1, dc3tog, ch1, sk1 rep 2 times, dc3tog, ch1. [2 incomplete dc in each following 2 corner sp, yo and pull through all loops to form a dc4tog, ch1, dc3tog, ch1, sk1 rep 2 times, dc3tog, ch1] rep 3 times, sl st to the first dc4tog, fasten off.
Round 2: Join new yarn to the 2nd ch-sp from right, ch3, 1dc in each remaining st and ch-sp, sl st to the top of the first ch3.
Round 3-4: For Round 3: ch3 as a standing st, 5dc, dc2tog. 6dc, dc2tog rep 3 times, sl st to the top of the first ch3.For Round 4: ch3 as a standing st, 4dc, dc2tog. 5dc, dc2tog rep 3 times, sl st to the top of the first ch3.
Round 5: ch2 as a standing st(count as an incomplete dc), 1 incomplete dc in next st, yo and pull through all loops to form dc2tog. 11 dc2tog. sl st to the first dc2tog. Sew this opening with slip stitches.
Top Cuff
Round 1: Join yarn to the 2nd corner sp from right. ch2 as a standing st(count as 1 incomplete dc). 1 incomplete dc in the same corner sp, 2 incomplete dc in next corner sp, yo and pull through all loops to form a dc4tog. ch2, dc3tog, ch3, sk1 rep 2 times, dc3tog, ch2. [2 incomplete dc in each following 2 corner sp, yo and pull through all loops to form a dc4tog, ch2, dc3tog, ch3, sk1 rep 2 times, dc3tog, ch2] rep 3 times, sl st to the first dc4tog, fasten off.
Round 2: Join new yarn to the 1st st from right. ch3 as a standing st. 1dc in the same ch-sp, 1dc in next st, 3dc in next ch-sp, 1dc in next st rep 2 times, 2dc in next ch-sp, 1dc in next st. [2dc in next ch-sp, 1dc in next st, 3dc in next ch-sp, 1dc in next st rep 2 times, 2dc in next ch-sp, 1dc in next st] rep 3 times, sl st to the top of the first ch3.
Round 3-6: For Each Round: ch3 as a standing st(count as 1dc), 1dc in each remaining st, sl st to the top of the first ch3.
Round 7: ch1 to start, 1sc in this st, 1sc in each remaining st, sl st to the first sc, fasten off.
Hanging Loop
Make a knot on your hook and chain until you reach your desired length, and fasten off. Thread your loop through the cuff section by weaving it in and out of the top dc round, spacing it 2 stitches apart.
Conclusion
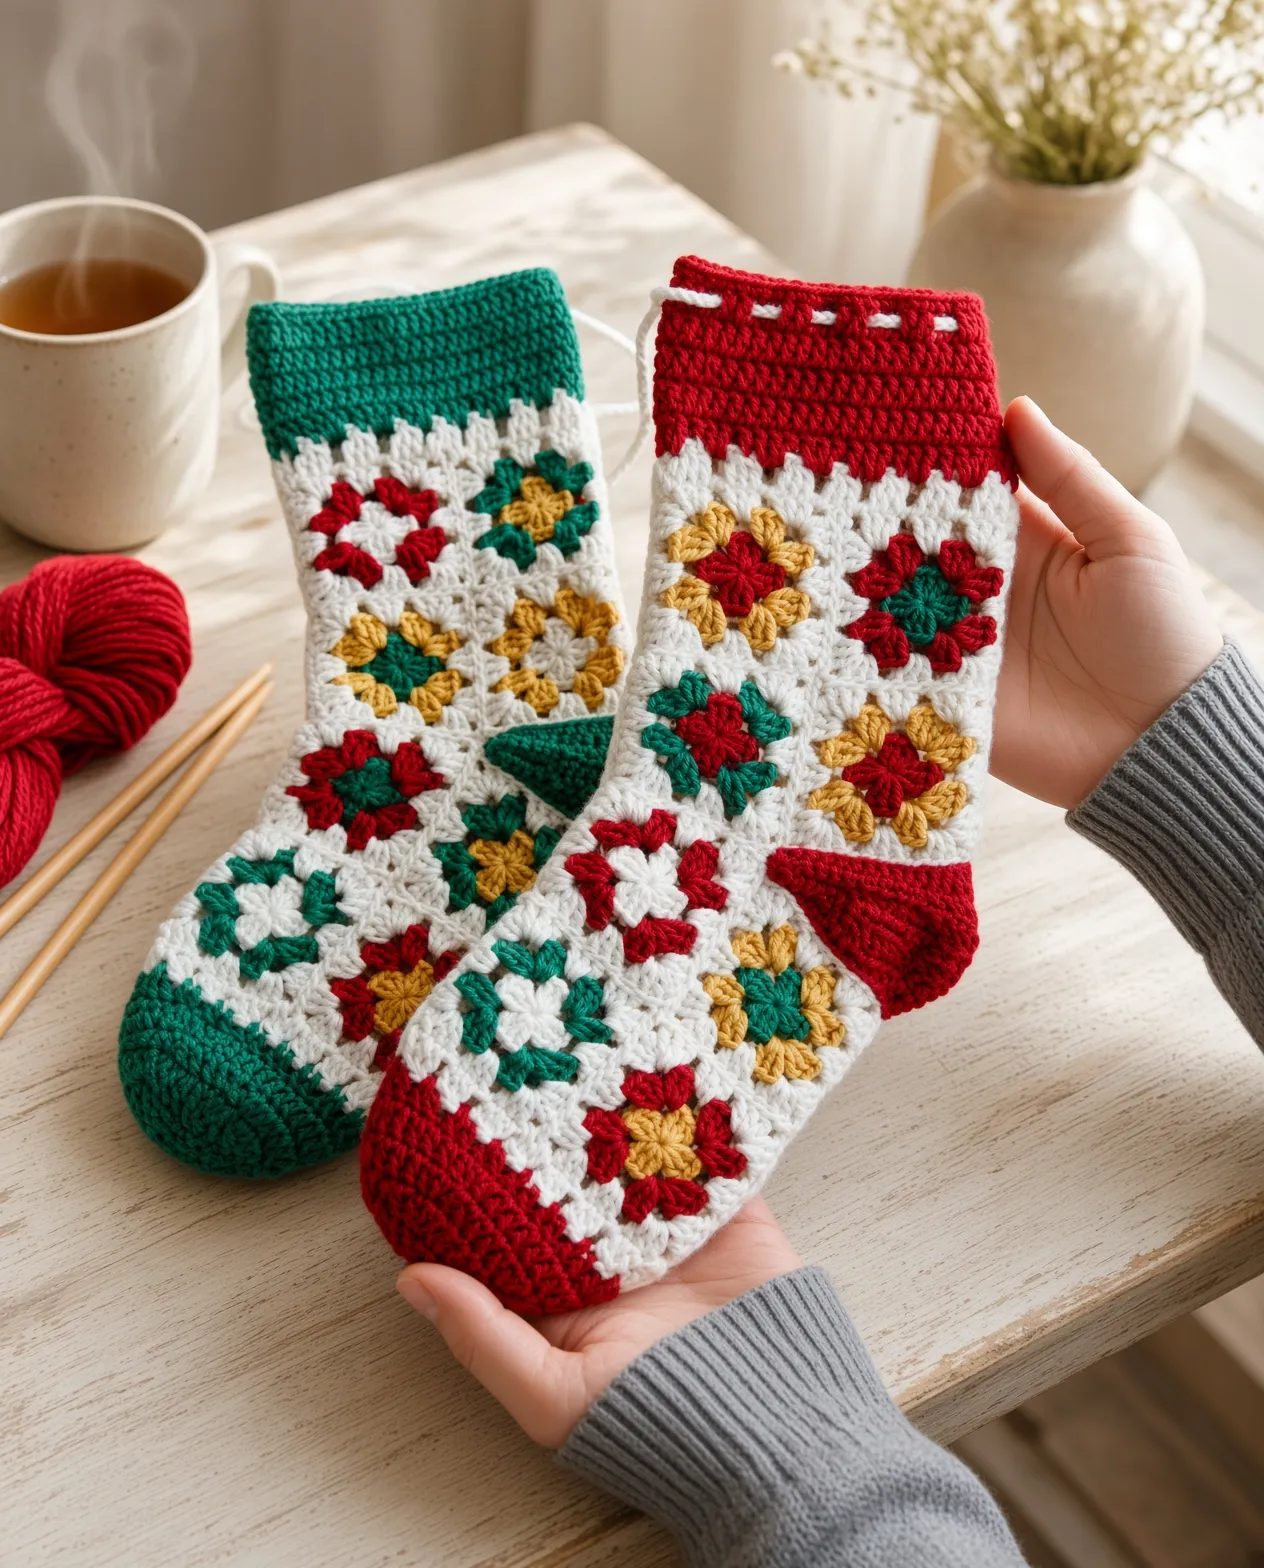
Congratulations on finishing your Granny Square Christmas Stocking! This beautiful, classic design is sure to become a cherished holiday heirloom for years to come. Share your finished stocking in the comments below!
