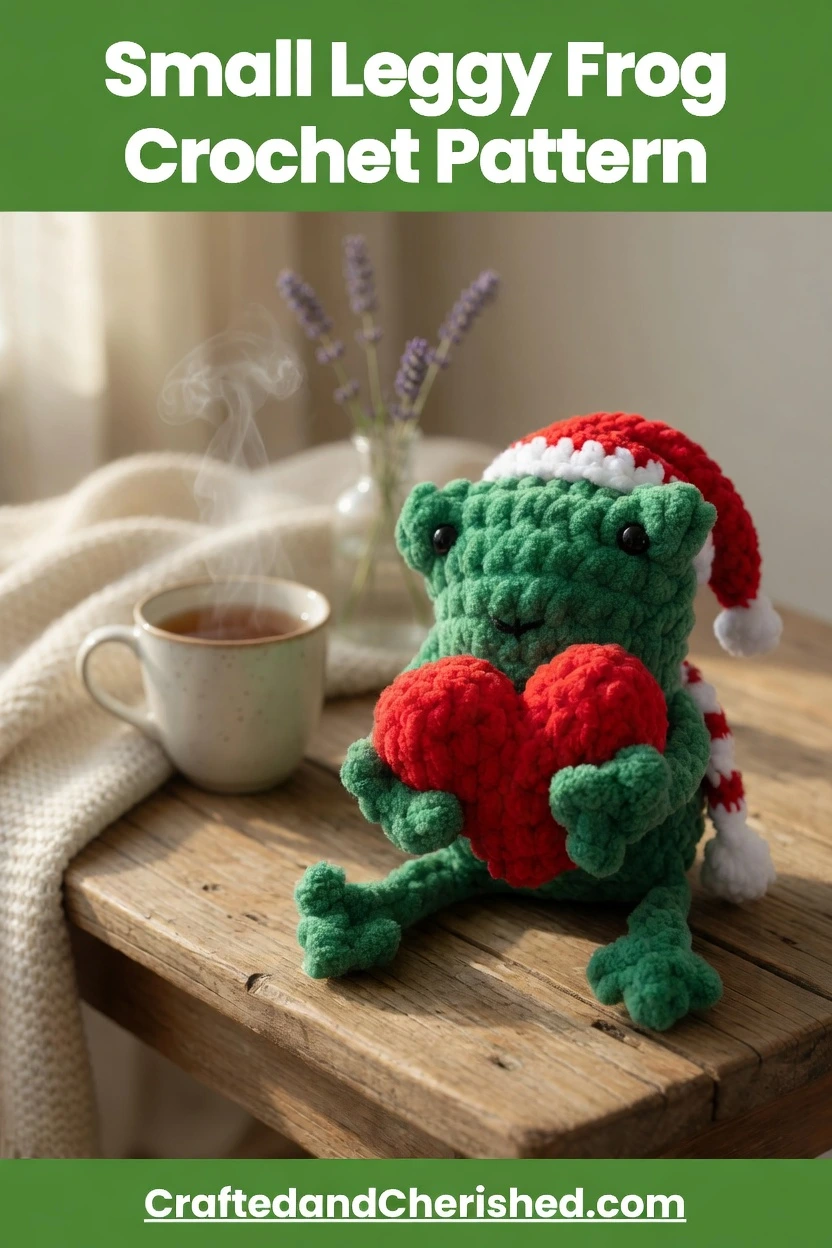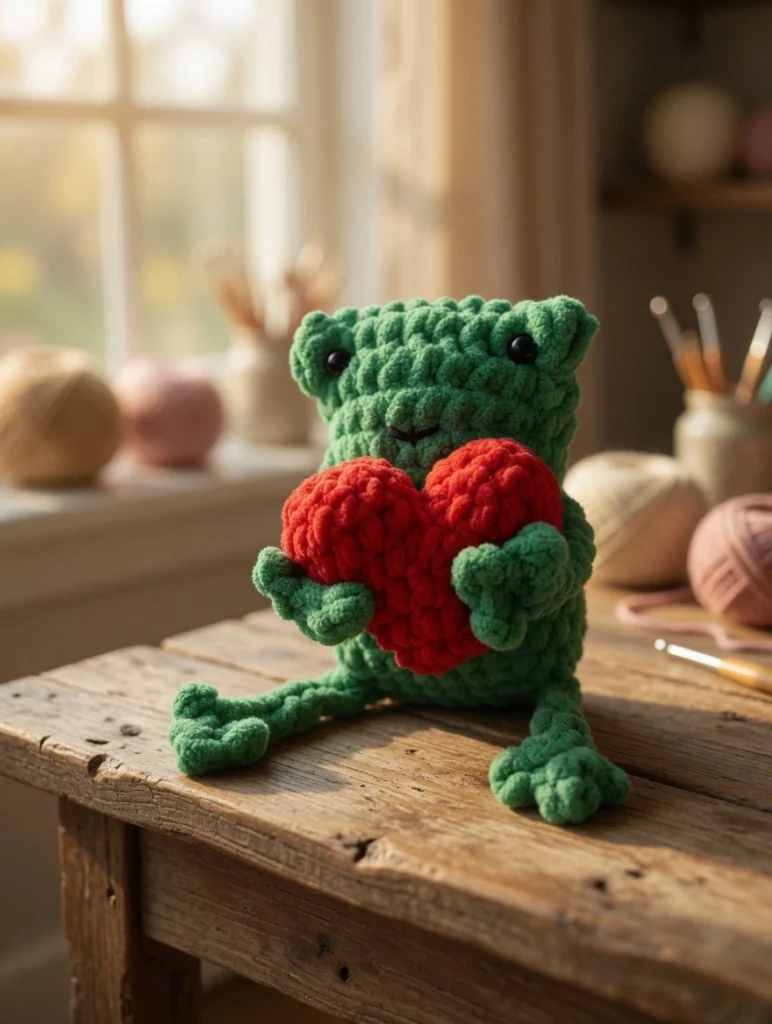
Few crochet patterns have earned the kind of devoted following that the Leggy Frog has. Originally designed by LisaAuch Crochet, this smaller version of her wildly popular leggy frog is a no-sew, beginner-friendly project that works up fast, looks absolutely adorable, and includes a bonus amigurumi heart pattern that makes it perfect for Valentine’s Day, emotional support gifts, or just because someone in your life deserves a tiny crocheted frog with ridiculously cute toes.
Whether you want a pocket-sized plush companion, a keyring charm, or a quick handmade gift that’s guaranteed to make someone smile, this pattern delivers every time. It’s also a proven bestseller at craft fairs, so if you’re doing market prep, this is the kind of project that consistently sells out. Let’s walk through the full pattern.
Why This Leggy Frog Pattern Is So Popular
There are plenty of frog patterns out there, but this one stands out for a few key reasons. First, it’s completely no-sew. Every part of the frog — the body, the arms, the legs, and those charming little frog pads — is worked as one continuous piece. There’s no assembling, no pinning, no sewing limbs onto a body. You crochet the whole thing in one go.
Second, it doesn’t require a magic ring. If you’ve been avoiding amigurumi because the magic ring intimidates you, this pattern removes that barrier entirely. You start with a simple chain and work into it from there. If you can chain, single crochet, slip stitch, and work a 3-double-crochet-together decrease, you can make this frog.
Third, the construction is genuinely clever. The frog’s eye bumps are created by working 3 double crochet stitches together into a single stitch, forming raised clusters that sit perfectly as bulging frog eyes. The arms and legs are built by chaining out from the body and slip stitching back to create branching frog pads — no separate pieces, no sewing, and the pads look exactly like little webbed toes.
And finally, the pattern is incredibly versatile. By changing your yarn weight and hook size, you can make everything from a tiny keyring frog in double knit yarn with a 2.5mm hook to a plush pocket-sized toy in chunky yarn with a 4.5mm hook. Same pattern, completely different sizes.
Materials You’ll Need
- Yarn: Green yarn (or any color you prefer). Double knit / light worsted weight for a small keyring-sized frog, or chunky / fluffy blanket yarn for a larger plush pocket pal. You’ll also need a small amount of the same weight yarn in red or pink if you want to make the bonus amigurumi heart.
- Hook: Matched to your yarn choice — 2.5mm for double knit yarn (keyring size) or 4.5mm for chunky yarn (plush toy size)
- Stuffing: Polyester fiberfill
- Eyes: Safety eyes (optional — placed into the 3dc-together clusters)
- Tools: Stitch marker, darning needle, scissors
- Extras: Keyring hardware if making it as a bag charm or keychain
Crochet Abbreviations (US Terms)
ch – chain | sl st – slip stitch | sc – single crochet | dc – double crochet | 3 dc tog – 3 double crochet together (decrease) | st – stitch | Rnd – round
Understanding 3 dc tog: To work this stitch, partially complete 3 double crochet stitches into the same space, leaving the last loop of each on your hook. Then yarn over and pull through all loops to finish the decrease. This creates the raised bump that forms each frog eye.
The Full Pattern
Important Notes Before Starting
Do not slip stitch to join rounds. Work continuously in each round and use a stitch marker to keep track of where each round begins. You do not need to know how to make a magic ring — the pattern starts with a chain.
The Leggy Frog Body
Chain 10.
- Rnd 1: Working into the 2nd chain from hook, sc in the next 9 sts, 3sc into the last stitch of the chain. Turn your work and start working sc into each stitch by working into the back of the chain back toward the start.
- Rnd 2: In the first stitch of the round, work 3dc tog all in the same stitch (first eye bump created). Sc into the next 7 stitches, work 3dc tog in the next stitch (second eye bump created). Sc in each remaining stitch.
Make sure the eye bumps sit equally apart. With bigger yarn, you may need to work into the next stitch to make them even.
- Rnd 3 to Rnd 6: Sc into each stitch around.
If using safety eyes, place them into the 3-double-crochet-together clusters now.
Creating the Arms and Pads
All of the 3rd-chain slip stitches are worked into the same space, making this the middle of the frog’s pad.
- Rnd 7: Chain 10, slip stitch into the 2nd and 3rd chain from the hook. Ch 3, single crochet into the 2nd and 3rd of chain. Ch 3, single crochet into the 2nd and 3rd chain. Slip stitch back into the base of the chain you just made.
This creates one arm with three branching pads — the frog’s signature webbed toes. The second arm is created on the opposite side of the same round using the same technique.
- Rnd 8 to Rnd 10: Sc in each stitch around.
Creating the Legs and Pads
- Rnd 11: Make sure your legs are starting in the right place — you may need to shift 1 stitch to make them equal at the sides of the frog.
Chain 10, slip stitch into the 2nd and 3rd chain from the hook. Ch 2, single crochet into the 2nd and 3rd of chain. Ch 2, single crochet into the 2nd and 3rd chain. Slip stitch back into the base of the chain you just made.
Stuff the frog here, shaping as necessary.
- Rnd 12: Working through both sides of the frog, slip stitch to join.
Fasten off and weave in ends.
Bonus Pattern: The Small Amigurumi Heart
Use the same weight yarn and hook size as your frog. Work in continuous rounds — do not join. Use a stitch marker to track rounds.
Ch 2.
- Rnd 1: Work 6sc into the 2nd chain from hook. [6]
- Rnd 2: (2sc in 1st st, sc in next st) repeat around. [9]
- Rnd 3: Sc in each stitch around. [9]
- Rnd 4: (2sc in 1st st, sc in next st) repeat around. [14]
- Rnd 5: Sc in each stitch around. [14]
- Rnd 6: (2sc in 1st st, sc in next st) repeat around. [21]
Split the heart in two here to create the top humps.
Side 1:
- Rnd 7: Skip 10 stitches and work sc in each stitch around. [10]
- Rnd 8: Sc in each stitch around.
- Rnd 9: Work sc2tog around until you can no longer decrease. Take out the hook, weave the yarn through the last remaining loops (you may have only 1 or 2 left), and pull tight to finish.
Side 2 (Hump 2):
- Rnd 1: Rejoin yarn in the next stitch along from the middle of the heart. Sc in each stitch around.
- Rnd 2: Sc in each stitch around.
- Rnd 3: Work sc2tog around until you can no longer decrease. Take out the hook, weave through the last remaining loops, and pull tight to finish.
Fasten off and weave in all ends securely.
Tips for the Best Results
Watch your eye bump placement. The 3dc tog clusters in Round 2 are what give the frog its character. If they’re not evenly spaced, the face will look lopsided. Count carefully, and if you’re using a thicker yarn, don’t hesitate to adjust by one stitch to get them sitting symmetrically.

The pads are easier than they look. The arm and leg construction seems complex when you read it, but once you try it, you’ll realize it’s just chaining out and slip stitching back. The branching pad shapes form naturally. If this is your first time making them, go slowly through the first arm and the second one will feel like second nature.
Match your yarn and hook to the size you want. This is one of the most flexible patterns you’ll find. A 2.5mm hook with double knit yarn makes a tiny frog perfect for a keyring. A 4.5mm hook with chunky or fluffy blanket yarn makes a soft, squishy pocket-sized plush. The pattern is identical — only the materials change.
Don’t forget to stuff before closing. You stuff the frog at Round 11, just before closing the bottom. It’s easy to get caught up in the leg construction and forget. Shape the body as you stuff — you want a plump, rounded frog, not a flat one.
The heart makes it giftable. The amigurumi heart takes only minutes to make and turns the frog from a fun project into a complete gift. Tuck the heart into the frog’s arms, attach it with a few stitches, or leave it as a separate piece. Either way, it adds a personal touch that people love.
Why This Pattern Works for Craft Fairs
If you crochet for markets, this leggy frog is a proven seller. It’s quick enough to batch-produce, uses minimal yarn, and has instant visual appeal on a table. The dangling legs and branching pads catch the eye immediately, and the small size means you can price it accessibly while still making good margins. Add the amigurumi heart and you have a ready-made Valentine’s Day or “thinking of you” gift set that practically sells itself.
The pattern also works beautifully in a range of colors beyond green — try pastel pink, lavender, baby blue, or even a variegated rainbow yarn. Each color variation looks like a completely different product, which helps fill out a market display without needing multiple patterns.
Happy crocheting — and enjoy your new leggy little friend!