
Amigurumi Corn on the Cob Crochet Pattern – Crafty Kitty Crochet
If you’re a crochet enthusiast looking to bring a touch of whimsy to your home or add to your collection of hand-crafted items, then the Amigurumi Corn on the Cob Crochet Pattern is a delightful choice. This charming pattern not only offers a unique crochet challenge but also results in a lovable piece that can be displayed or gifted with pride. In this article, we’ll explore the details of this pattern, provide tips for crocheting with amigurumi techniques, and discuss ways to personalize your completed corn on the cob.
What is Amigurumi?
Amigurumi, originating from Japan, refers to the art of knitting or crocheting small, stuffed yarn creatures. This popular craft encompasses a wide range of animal shapes, characters, vegetables, and even food items like our featured corn on the cob. The best part about amigurumi is its versatility; you can create everything from cute animals to fun food items that can serve as décor, toys, or gifts.
Why Choose the Corn on the Cob Pattern?
The Amigurumi Corn on the Cob pattern is perfect for several reasons:
1. Versatile Décor
Corn on the cob is an iconic symbol of fall and harvest themes. Creating an amigurumi version allows you to have a bite-sized, friendly interpretation that’s the perfect addition to seasonal decorations, kitchen décor, or even as part of a festive table setting.
2. Fun and Bright
The vibrant yellow and green colors of corn are sure to put a smile on your face. This amigurumi pattern offers an opportunity to play with color combinations and textures, making your finished product pop.
3. Perfect for All Skill Levels
Whether you’re a beginner or an experienced crocheter, this pattern provides just the right level of challenge. New crocheters can follow straightforward instructions, while seasoned pros can enjoy adding embellishments or experimenting with stitch variations.
Gathering Supplies
Before diving into the crochet pattern, it’s essential to gather the necessary supplies. Here’s what you’ll need for your corn on the cob amigurumi:
- Yarn: Choose worsted-weight yarn in yellow, green, and any other colors for embellishments.
- Crochet Hook: A size G (4.0 mm) crochet hook is recommended.
- Stuffing: Polyfill stuffing material to give structure to your corn.
- Stitch Markers: Useful for keeping track of your rounds.
- Yarn Needle: For weaving in ends and assembling parts.
- Embroidery Floss: Optional for adding facial features or embellishments.
Step-by-Step Instructions
Now that you have all your materials, let’s get started with the crochet pattern for the Amigurumi Corn on the Cob! Below are the step-by-step instructions.
Step 1: Create the Kernels
- With yellow yarn, make a magic ring and crochet 6 single crochet (sc) into the ring. Pull the ring tight.
- Round 2: Increase in each stitch (12 sc).
- Round 3: 1 sc, 1 increase repeat around (18 sc).
- Rounds 4-6: Work even in sc.
- Round 7: 1 sc, 1 decrease repeat around (12 sc).
- Round 8: 1 decrease repeat around (6 sc). Fasten off and stuff firmly.
Step 2: Create the Corn Husk
- With green yarn, make a magic ring and crochet 5 sc into the ring.
- Round 2: Increase in each stitch (10 sc).
- Round 3: Work even in sc.
- Round 4: 1 sc, 1 increase repeat around (15 sc).
- Rounds 5-7: Work even in sc to create the length of the husk.
- Finish with a slip stitch and fasten off, leaving a long tail for sewing.
Step 3: Assemble the Corn
Now it’s time to assemble your corn!
- Position the yellow kernel piece within the green husk.
- Using the yarn tail from the husk, sew the two pieces together securely.
- Make sure to leave the top pointed for that cute corn-on-the-cob look.
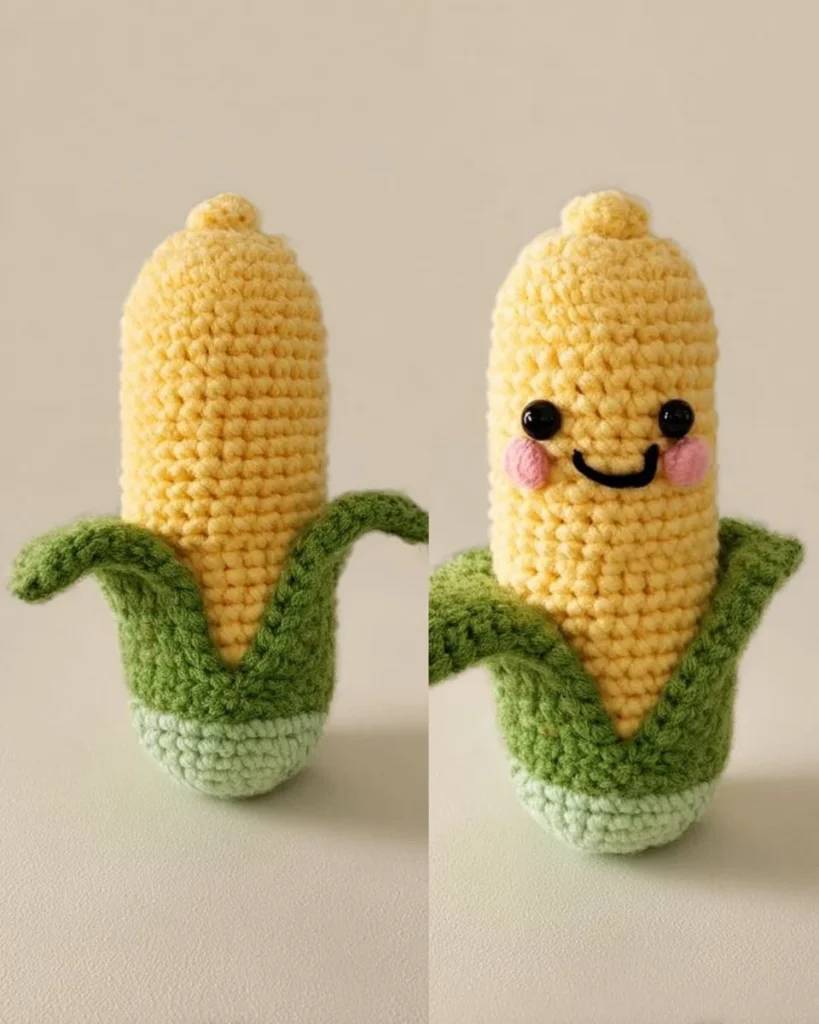
Step 4: Add Personality
At this stage, you can personalize your corn on the cob by adding little faces, patterns, or other fun features. You can use embroidery floss to create a smiling face or use safety eyes for a charming look. Experiment with textures and different yarn to create variations!
Tips for Crocheting Amigurumi
-
Use a Smaller Hook: For amigurumi, it’s a good idea to use a smaller crochet hook to create a tighter stitch, which makes it less likely for stuffing to show through.
-
Choose Fiber Content Wisely: While acrylic yarn is commonly used for amigurumi, consider trying cotton or bamboo yarn for a unique feel and finish.
-
Stuff Firmly: Stuff your amigurumi pieces firmly to help them hold their shape. Don’t be afraid to really pack it in, but be careful not to overstuff.
-
Practice Color Changes: As this pattern involves multiple colors, practicing how to change colors seamlessly will enhance the overall look of your piece.
-
Take Breaks: Don’t hesitate to take breaks! Amigurumi can be intensive on your hands, so give them a rest periodically.
Final Touches
Once you have completed your amigurumi corn on the cob, you can take time to distinguish your project further. Consider attaching a small tag with a name or a lovely message—personalized creations make for wonderful gifts, especially for food lovers!
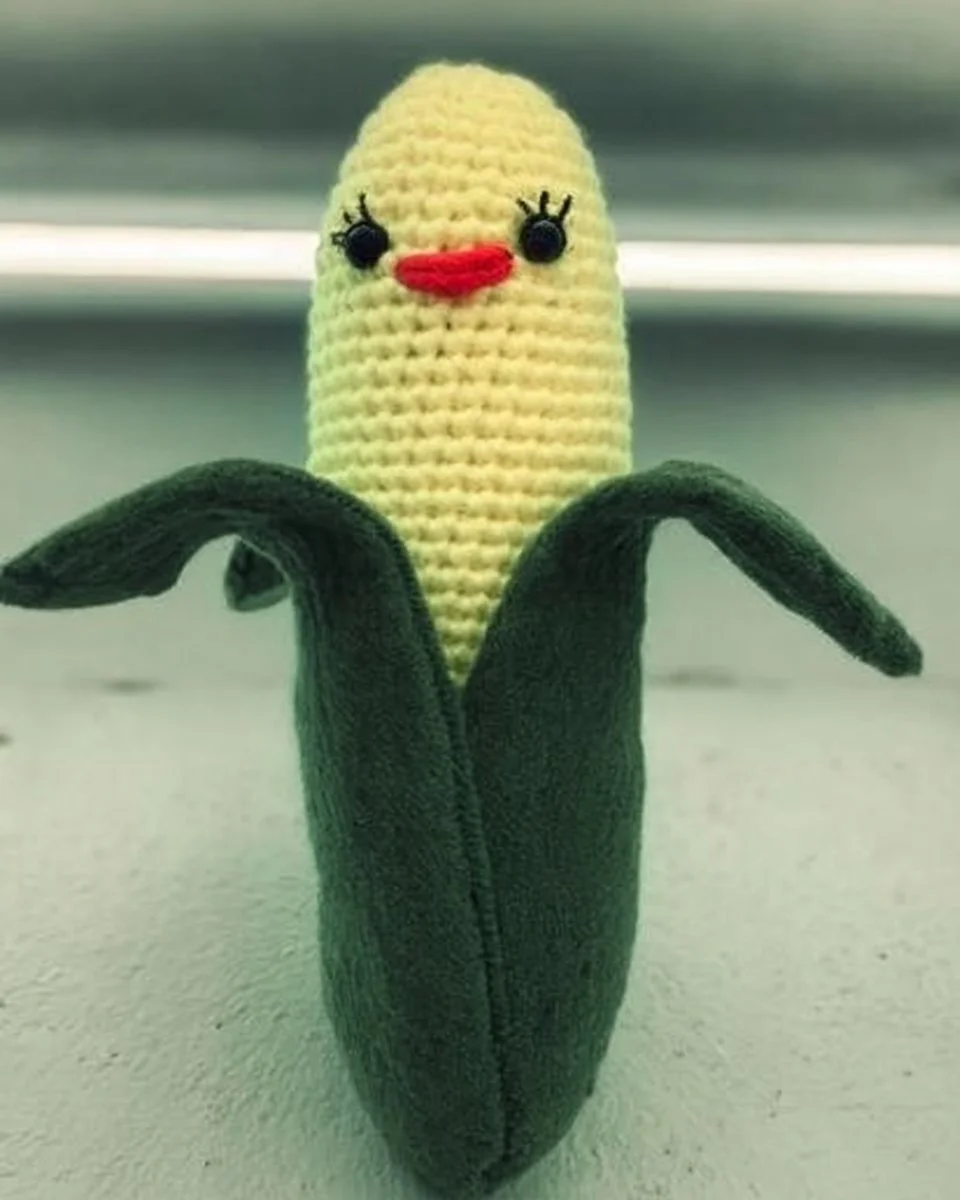
You might also explore different variations of corn on the cob, such as mini corns, or crafting a whole cornfield scene with various amigurumi veggies. The possibilities are endless, and each creation can inspire new ideas.
Displaying Your Creation
Once you’re finished, here are some fun ways to display your new amigurumi corn on the cob:
- Seasonal Décor: Place your corn among other festive decorations during fall.
- Kitchen Displays: Use it as a quirky decoration on your kitchen countertop alongside other fruit or vegetable sculptures.
- Gift Items: Present it in a cute basket as a part of a food-themed gift set.
Conclusion
The Amigurumi Corn on the Cob Crochet Pattern from Crafty Kitty Crochet is not just a project; it’s an opportunity for creativity and joy. Whether you are gifting this delightful piece or adding it to your home décor, you’ll surely earn plenty of smiles and compliments. So gather your yarn, pick up your hook, and embark on this fun crochet adventure!
Remember, the magic of crochet lies in the creativity you bring to your work. Don’t hesitate to make this your own, and enjoy every stitch along the way. Happy crocheting!

